Powered by Sun (and Wind)
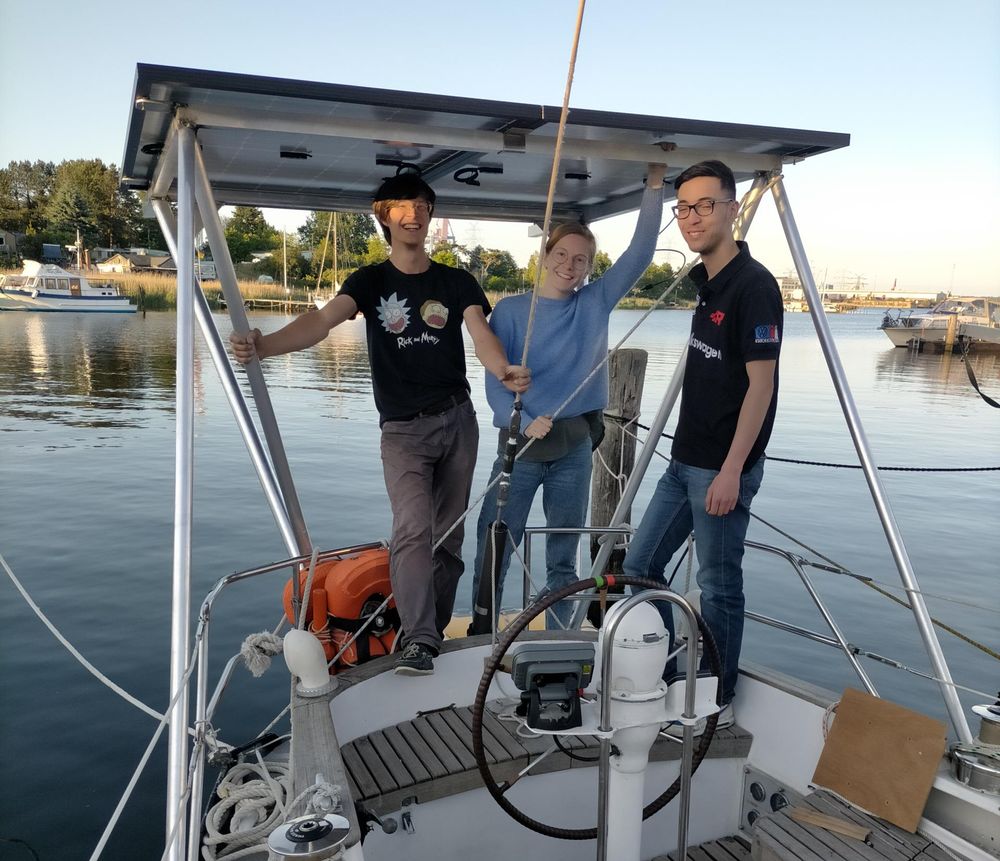
After many weeks and long nights of hard work the Goden Wind is now officially equipped with two 390 W solar panels. It is one of our goals to rely less on shore power and be able to run the Goden Wind with as much renewable energy as possible. One of the main obstacles to this was powering the fridge. So, for the past few years we have implemented various solutions that suited our budget and time needed for installation. These included an extremely noisy wind generator and smaller solar panels lacking proper holders to withstand the forces put on them under sail. Therefore, much of the time on our last trip was spent moving and retying panels to different parts of the deck trying to keep them out the way and also in the sun as best we could.

Keeping the lights on
There are many ways of keeping the lights on on a boat, especially sailboats which don’t need a noise machine to move and would ideally go for many weeks without the need for burning fossil fuel. Three main sources of renewable energy are available on the water; Wind, Water and Sun.
Wind generators are useful in places where there is almost always some wind and you don’t mind the noise they make. Especially the cheap models without variable pitch blades are only really useful at one specific wind speed.
Water generators are basically a small outboard placed on the stern of a boat that will drive a generator when it is moving at sufficient speed. Great for crossing an ocean but if you want to be anchored for a few days, you will quickly run out of power.
Solar panels have become a lot more affordable recently, with full sized models costing a little more than 100€. Although they need a good place to be mounted, they require almost no maintenance and are usually very reliable.
We tried the first solution some time ago and installed a small, wind turbine because this solution was cheap and easy to mount, by just placing it on the end of an aluminum pole. Of course it didn’t fit perfectly and a custom part had to be made. This is where the real hero of this story makes his first appearance. Hauke first met Gerrit Trüschel from Metallbau Trüschel when he walked up to their workshop and asked for a simple lathe turned connector piece for the wind turbine, which he quickly made while enjoying a nice chat.
As mentioned, this turbine did not have variable pitch blades and only worked well at wind speeds over 14 knots and above 20 knots produced so much noise that it was audible even at the bow of the ship. Further it turned out there was a design flaw in the size of the wind vane and the turbine would not adjust with the wind as it was too small. This we fixed by bolting a piece of plastic to the vane which balanced out he turbine and allowed it to turn into the wind. Also it turned out that the single pole was not stiff enough and the propellor started swinging madly when we passed through a small storm cell. Hauke fixed this by hopping onto his folding bike and buying some thin aluminium tubes as diagonal reinforcements.
In the end we decided it was not worth it and did not reinstall the wind generator.
The next solution was small solar panels for which we designed some (under-dimensioned) attachments for the railing. In the end we usually just placed the panels anywhere on deck and tied them down as best we could. This was a rather annoying task and the panels only produced enough power on really sunny days. But the goal was to be able to live off grid for extended periods of time and not have to connect to shore power at all.
Finally, we had the time to make something much more durable, and that should last us for many years of sailing to come! So, Hauke began several months ago, once again putting his CAD skills to great use, designing the holder to attach to the stern of the boat. It was very important for us to have the panels interfere as little as possible with our actual sailing while also optimizing the power that they can provide the boat. Putting them behind the back stay means they are out of the way of any of the sails and ropes and have few chances to be in the shade. That also means there is the space to put davits for the dingy the at the stern of the boat.
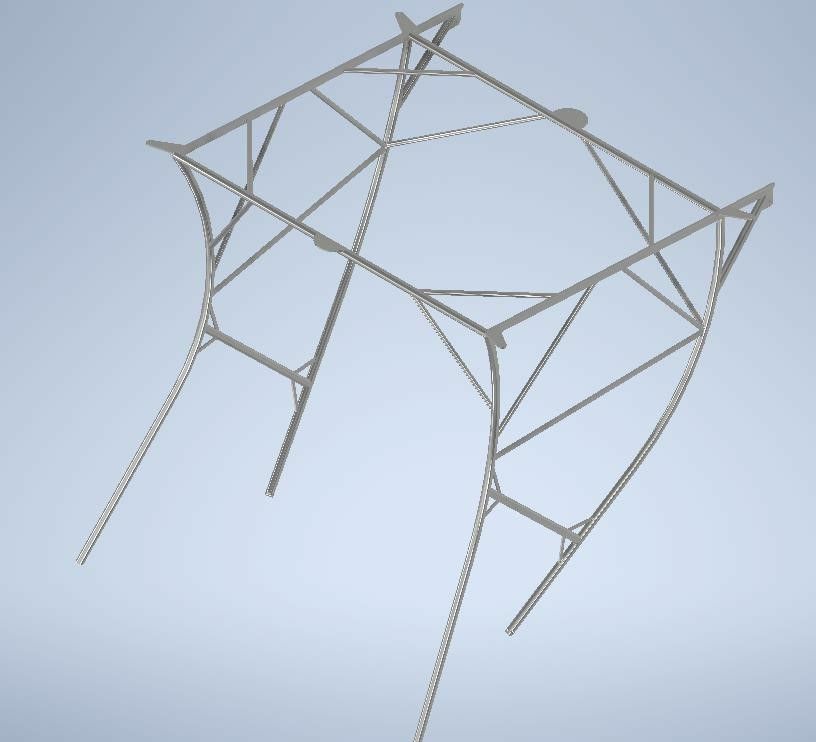
The initial design contained many rounded tubes and lots of intricate welds, which would have been very difficult to build. Over the course of several weeks the design went through many iterations, mainly to simplify the design in order to make it easier to build. In the end, the final design was minimized with a strict form follows function approach and designed to withstand even hurricane force winds.
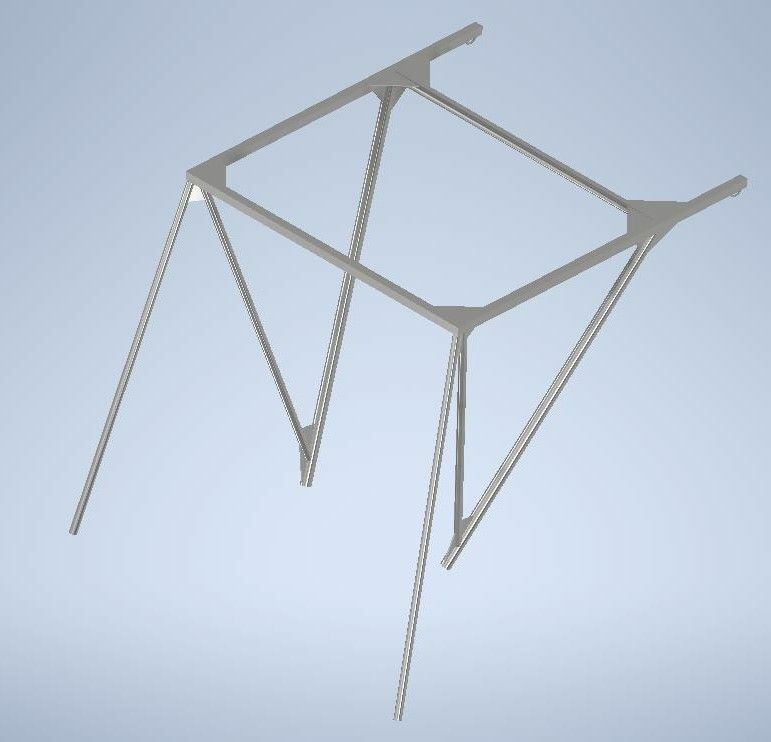
After a lengthy design process, finally the time came to turn the idea into reality, first by selecting the appropriate raw materials for the project. We chose aluminium as it is cheaper and lighter than stainless steel even though it is a little bit more difficult to weld. Aluminium is a very versatile material and comes in many different alloys. The boat for example is made from 5083 (AlMg4.5Mn) which is very resistant to corrosion, especially from salt water and is easily weldable. Due to the high Magnesium content, however, this alloy has a relatively low tensile strength. A good compromise is 6082 (AlSiMg) which contains both silicon and magnesium resulting in a relatively high corrosion resistance (not as good as 5083) and a good tensile strength.
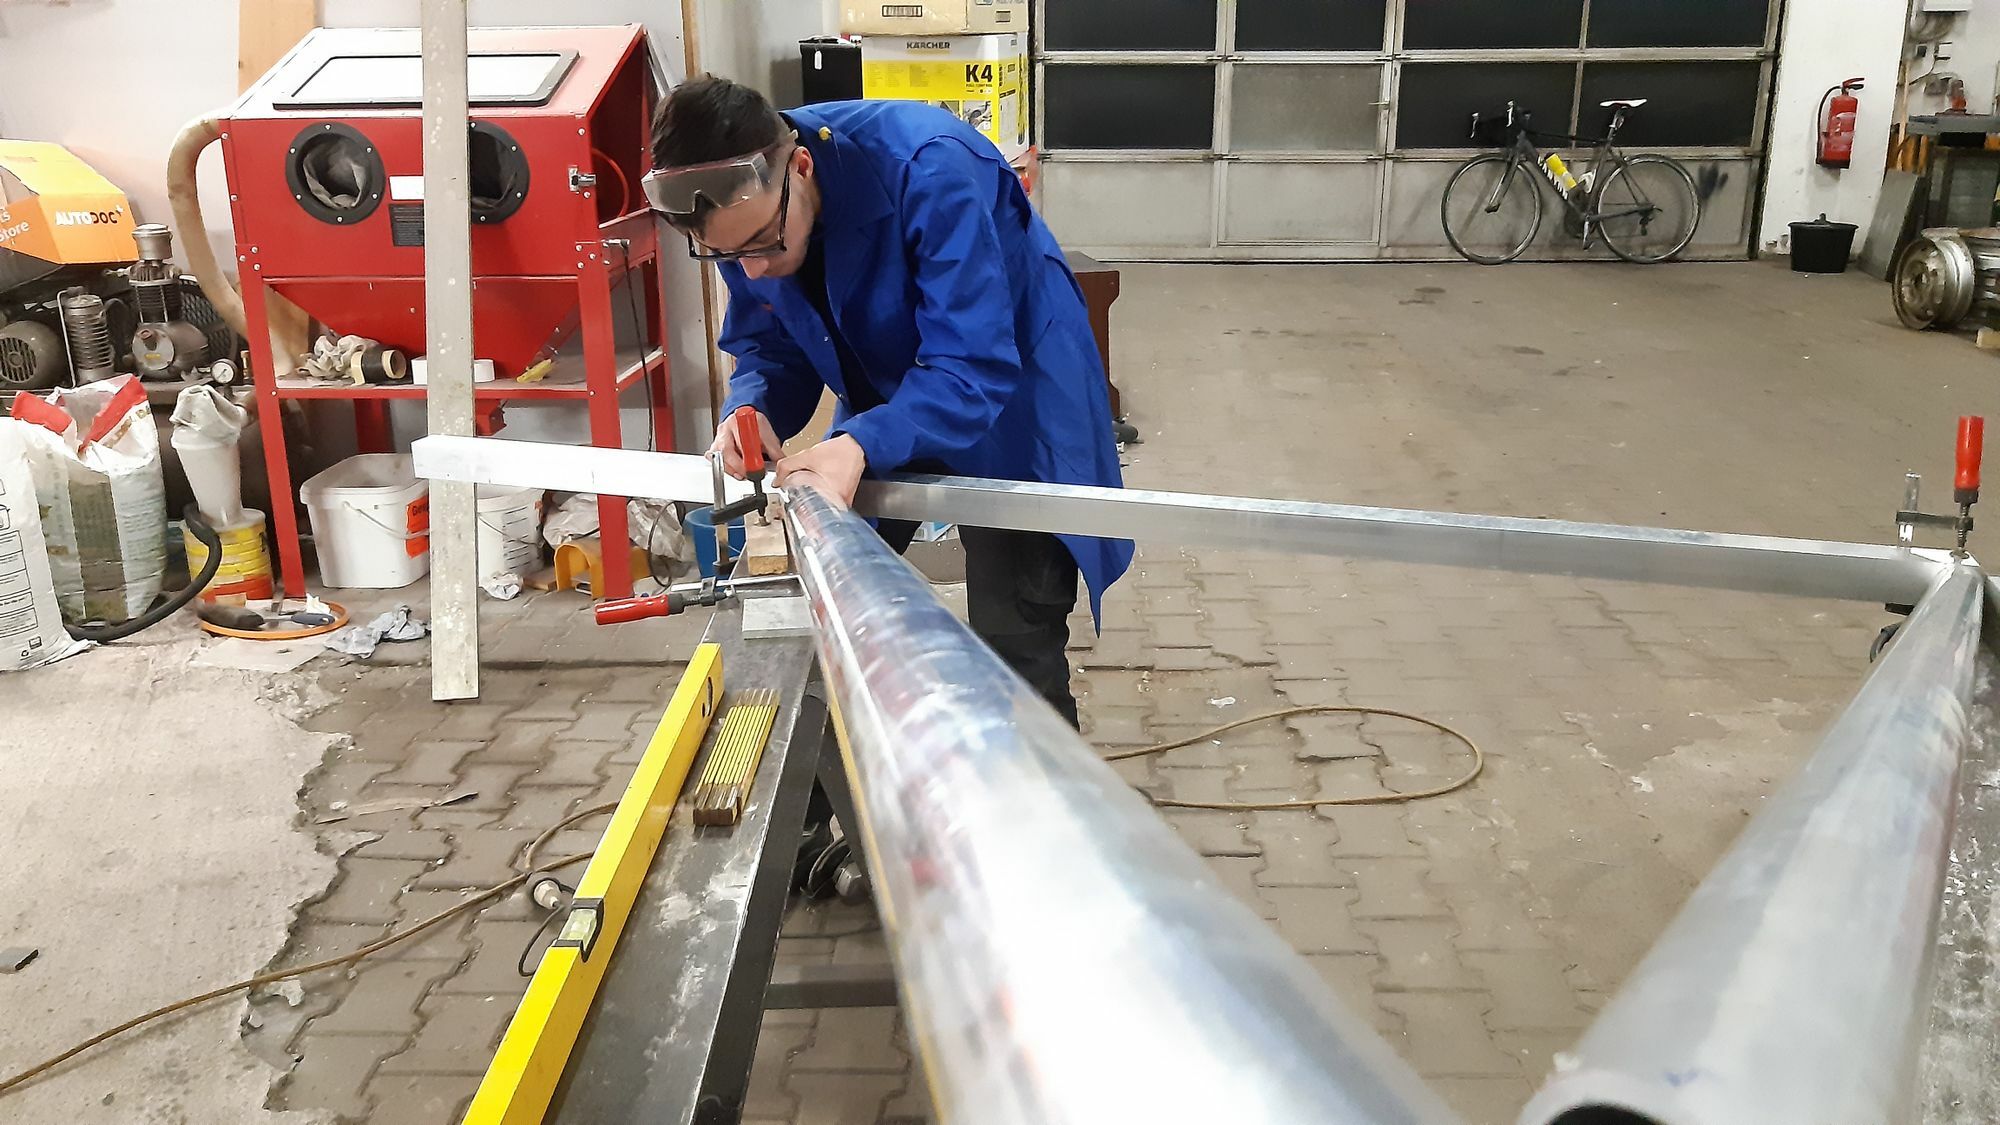
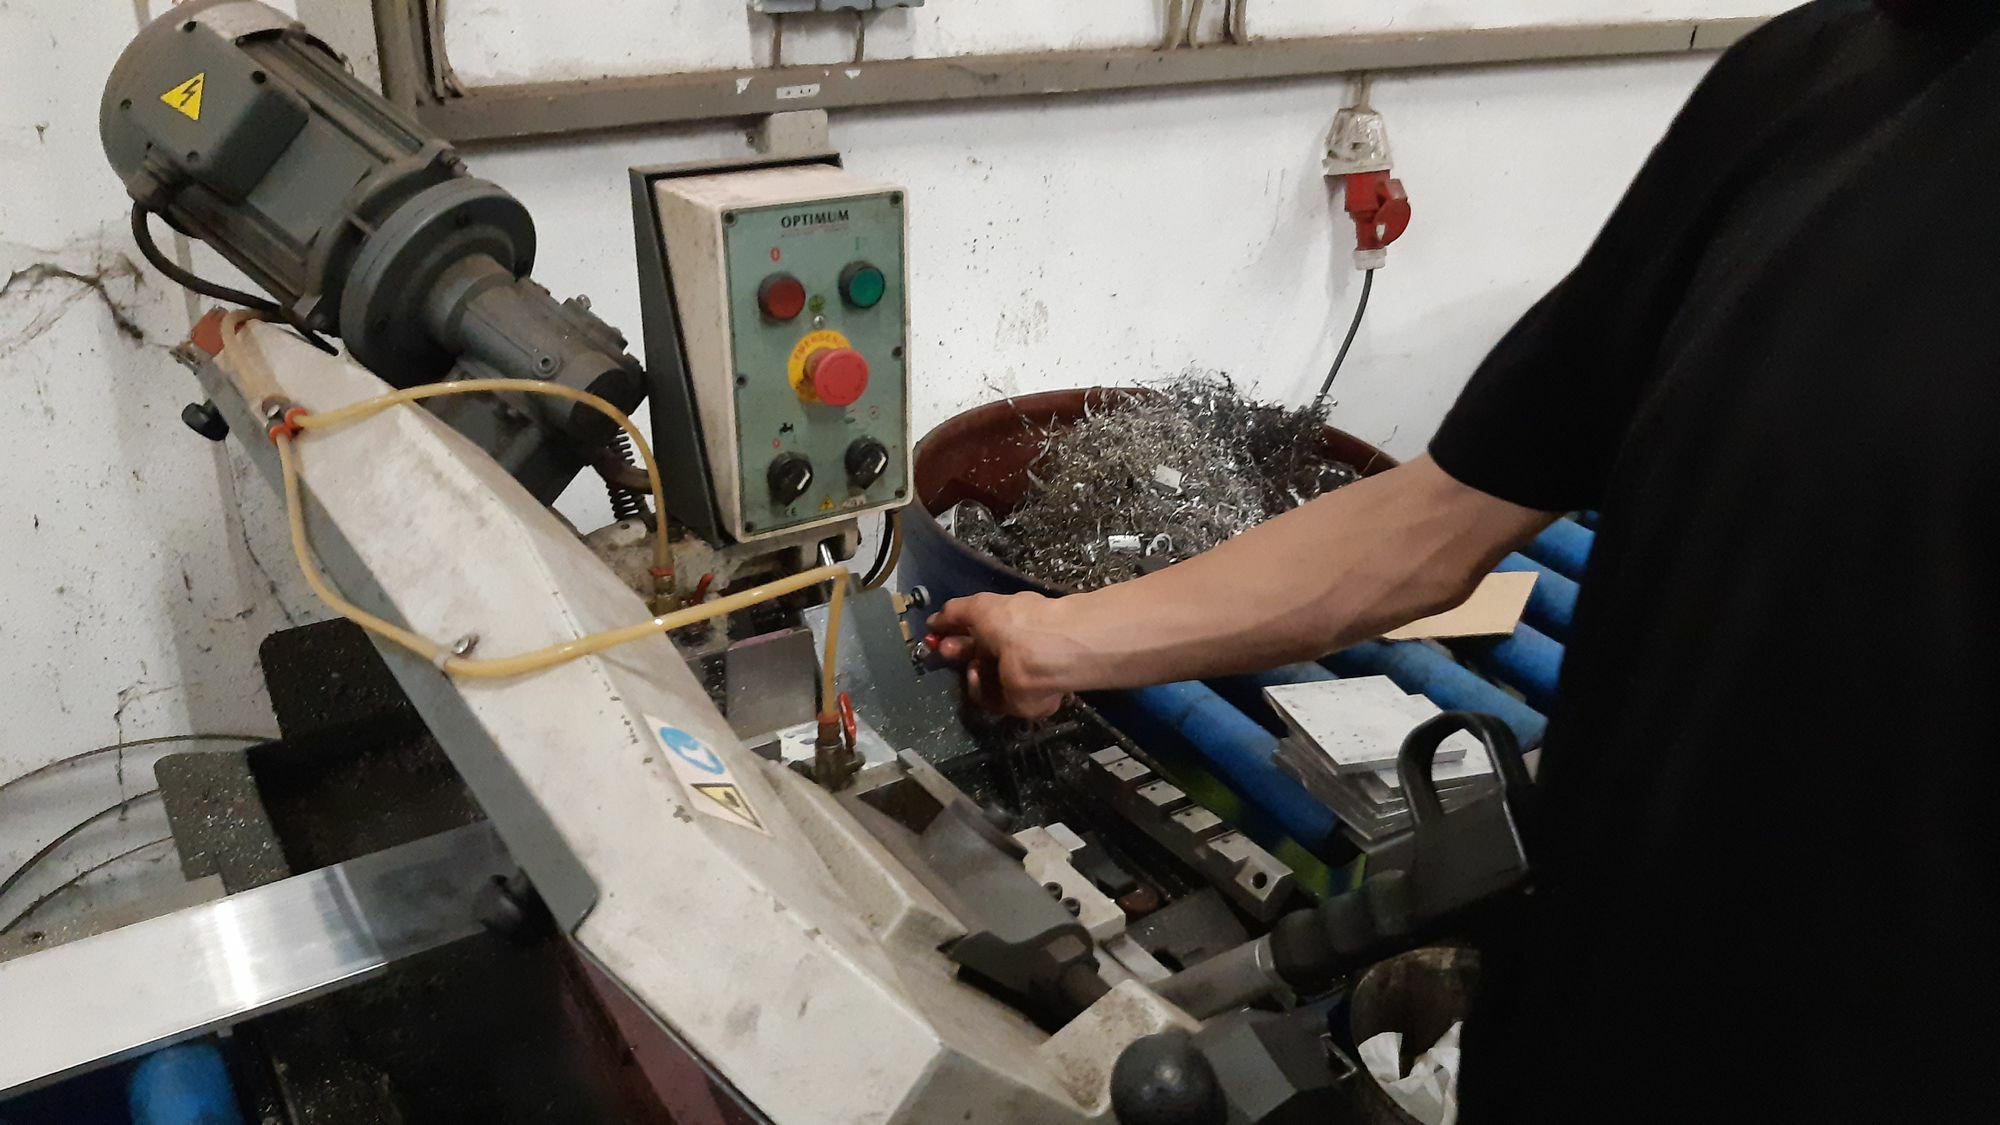
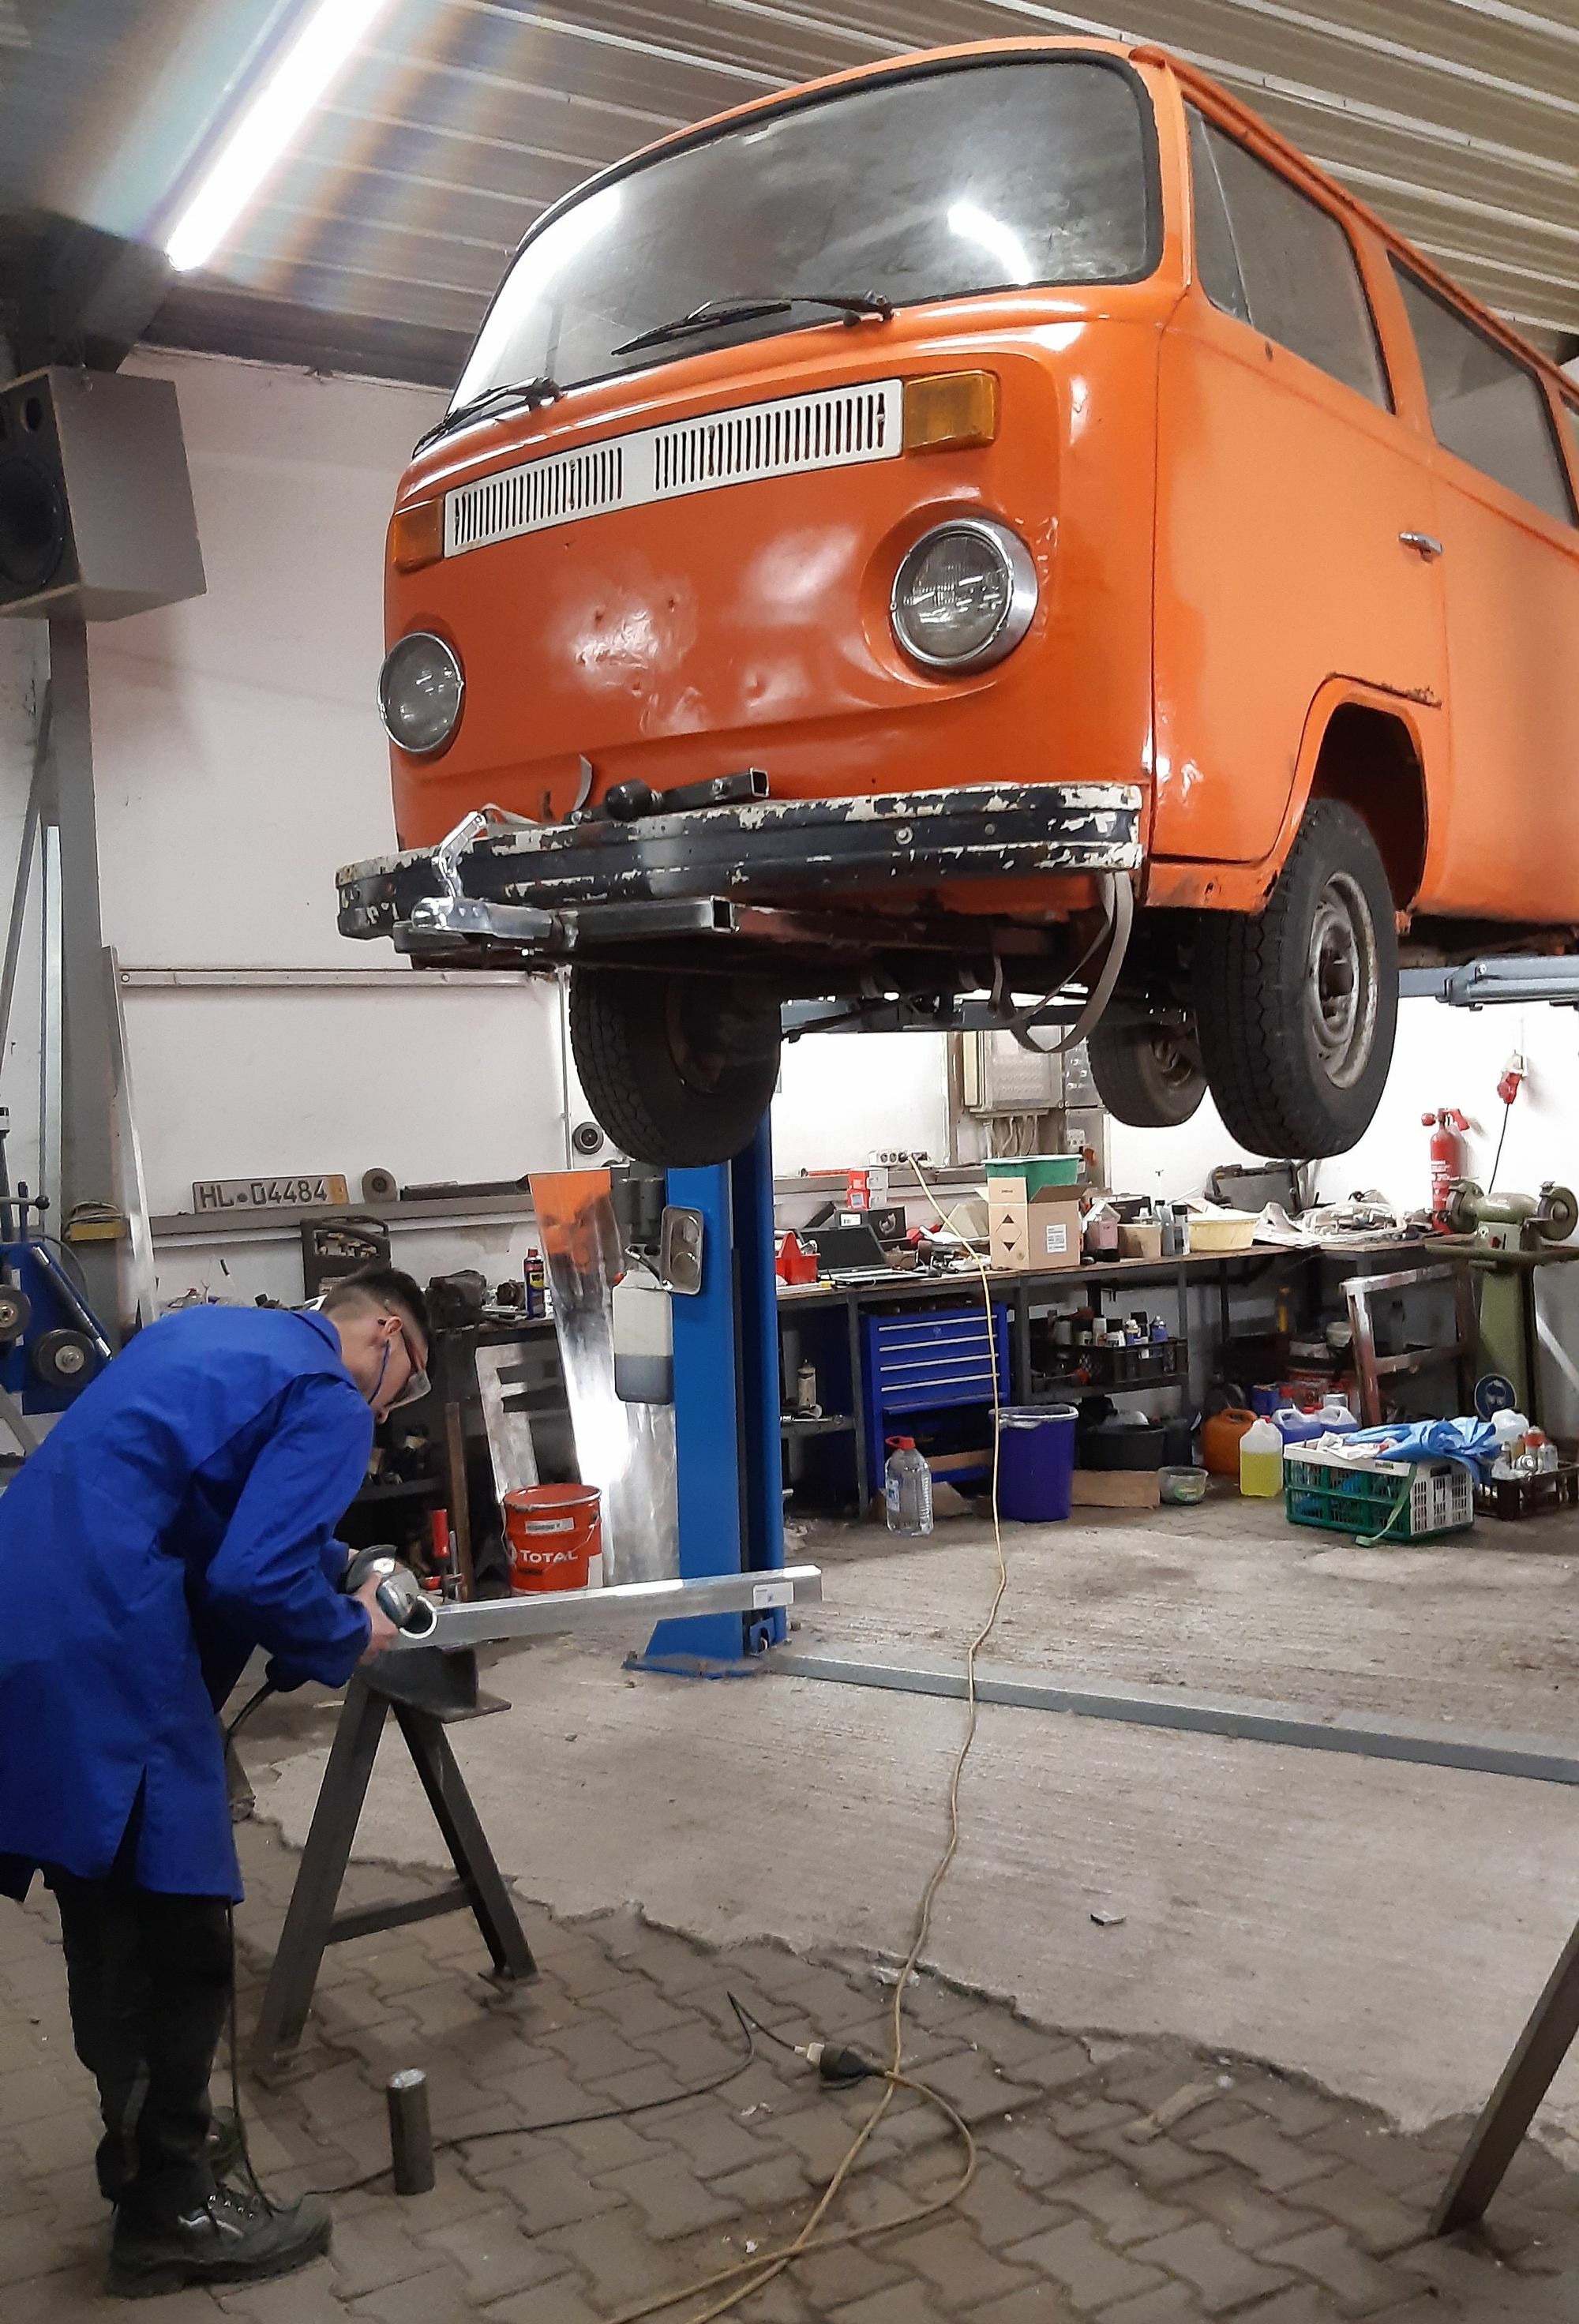
Sections of raw metals almost always come in lengths of 6m, so the size of the main load bearing tube was designed to use exactly that amount of material. First we needed to measure the length and particularly the angles of the tubes to be cut. After determining these in a lengthy process of studying the CAD drawings closely, cutting is a quick job for the band saw. To get all the angles just right we placed the whole thing on to the ground with a small supporting tripod and adjusted the ends with an angle grinder.
A few late nights of chatting and building later we can finally get to the incendiary part of the process, the welding. This can be done using two different methods, TIG (tungsten inert gas) or MIG (metal inert gas).
Since aluminium is very reactive with oxygen at high temperatures, an inert shielding gas such as argon is needed to stop it from just burning up. TIG is for small decorative welds and is quite slow but looks very neat when done properly. MIG is fast and a bit easier but the welds don’t look quite as pretty. We used the latter process as the results are fast and reliable.
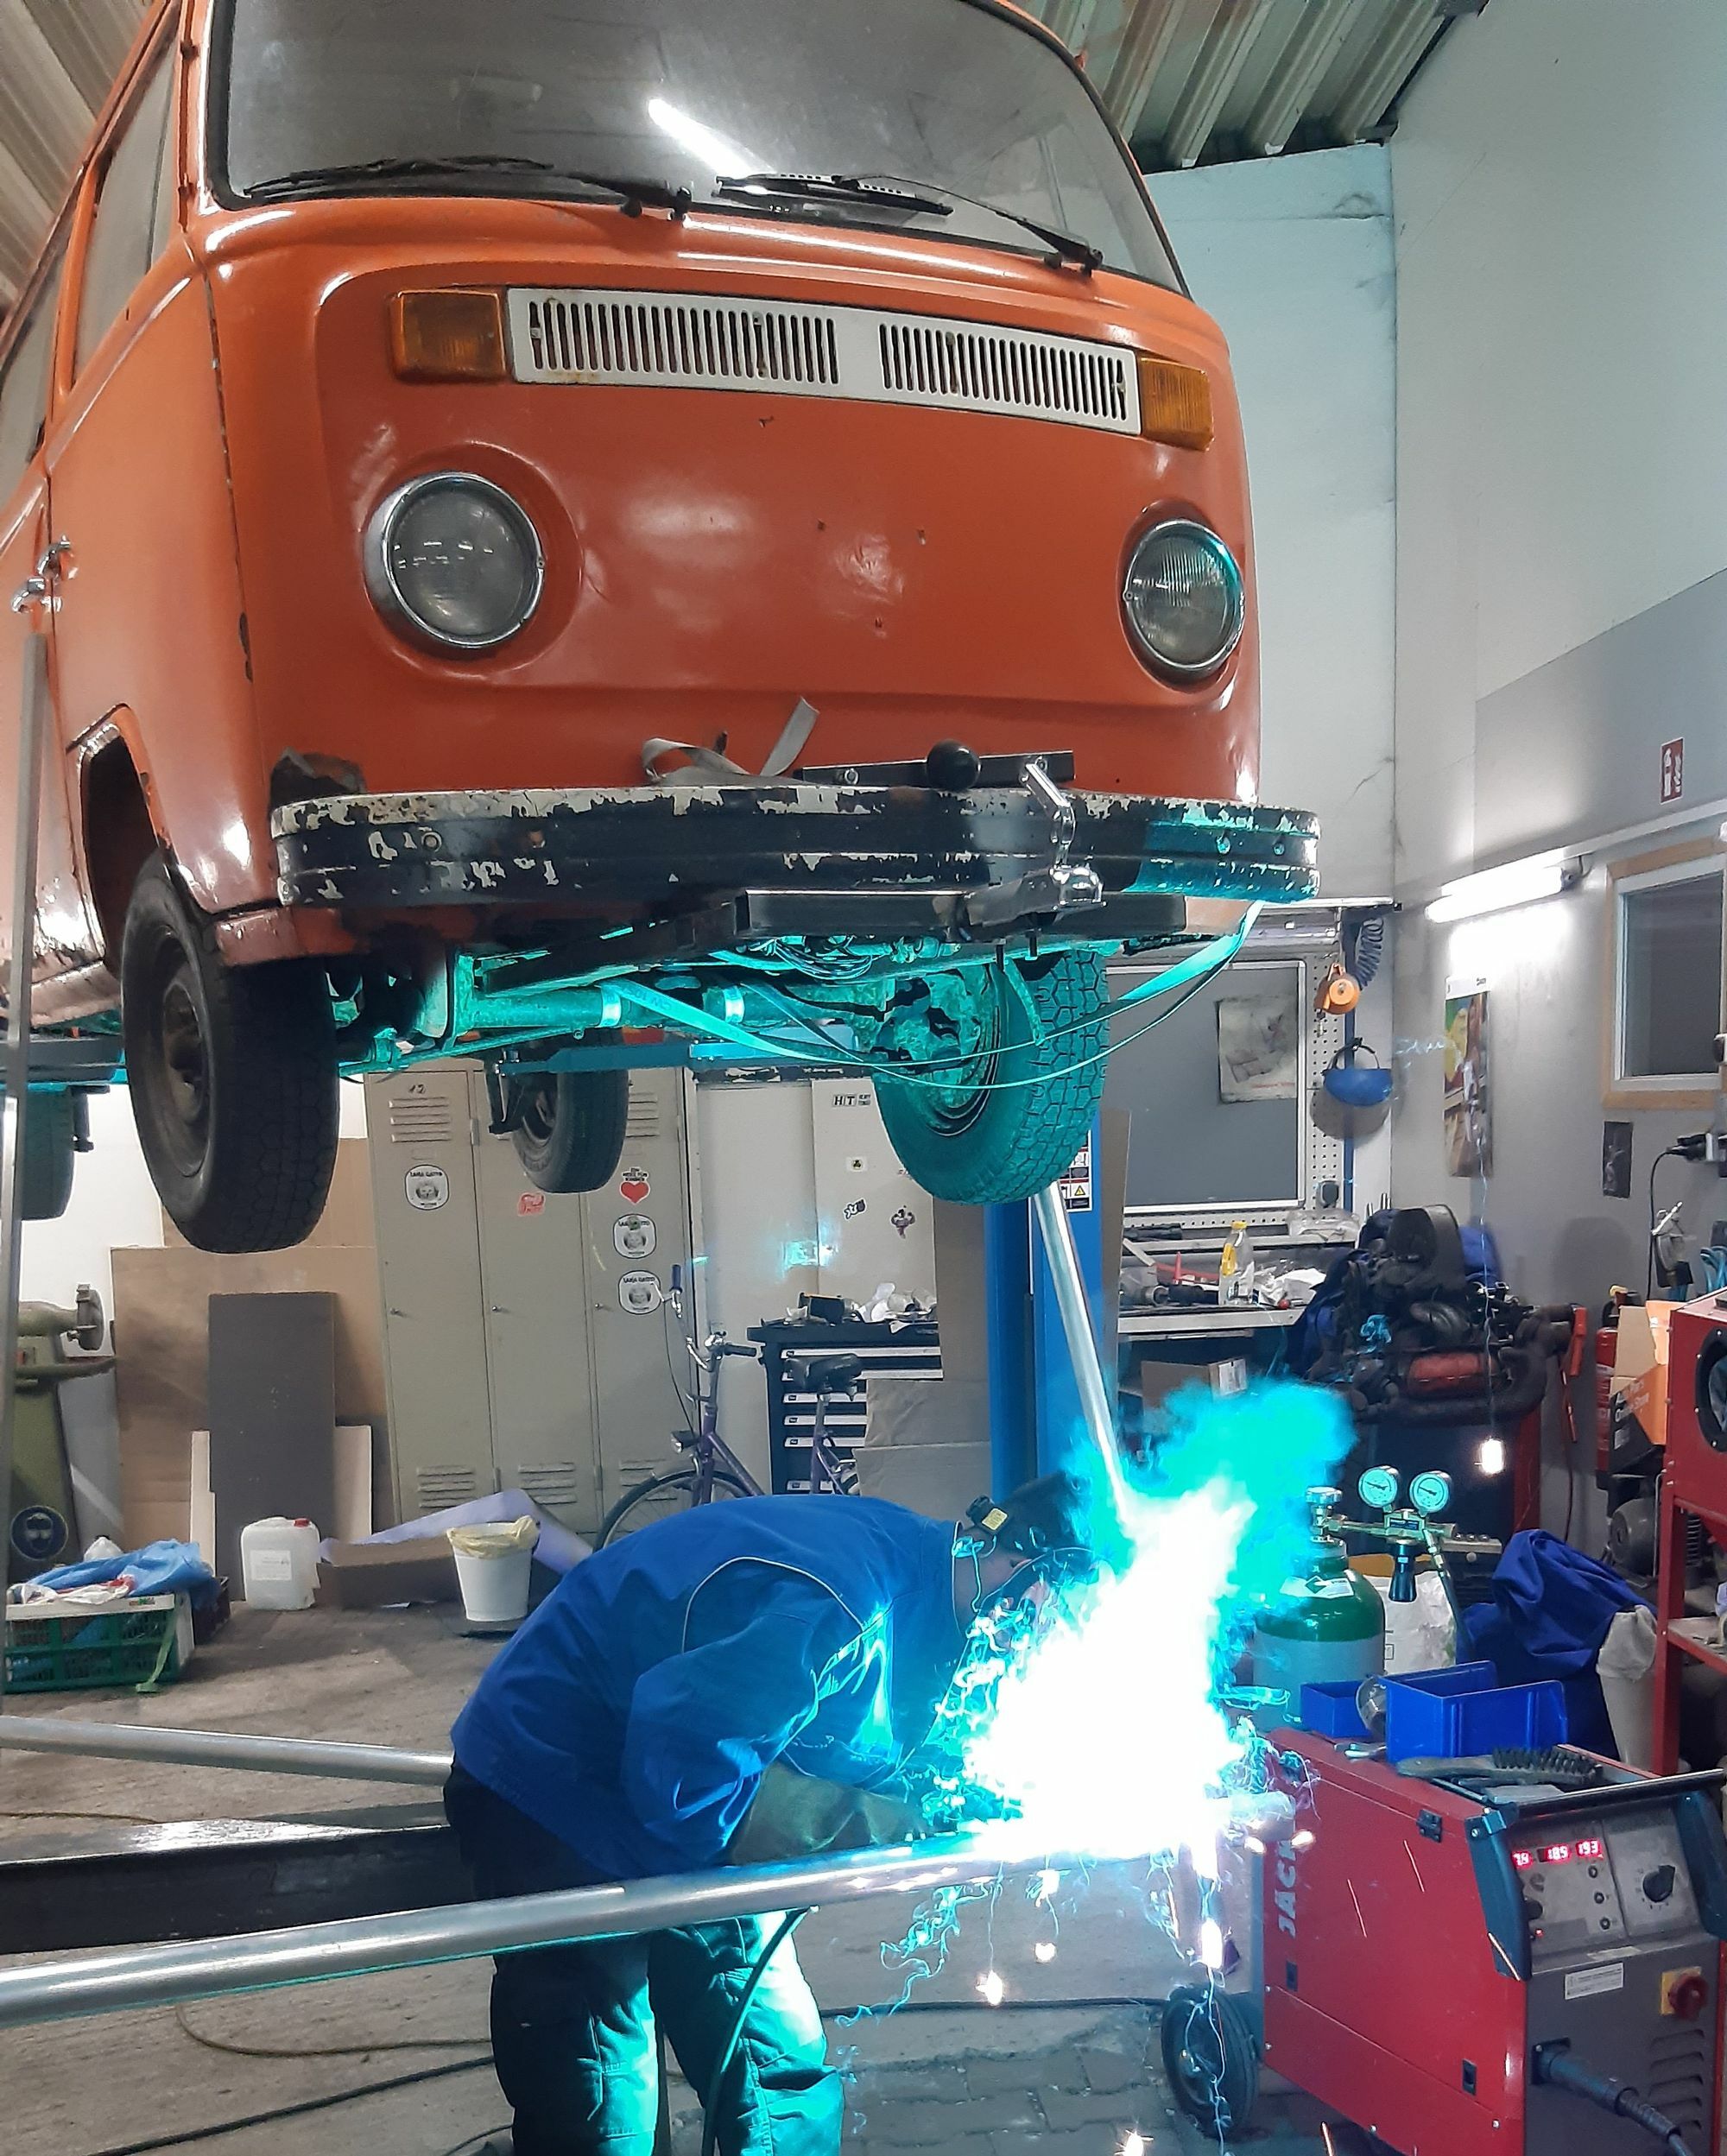
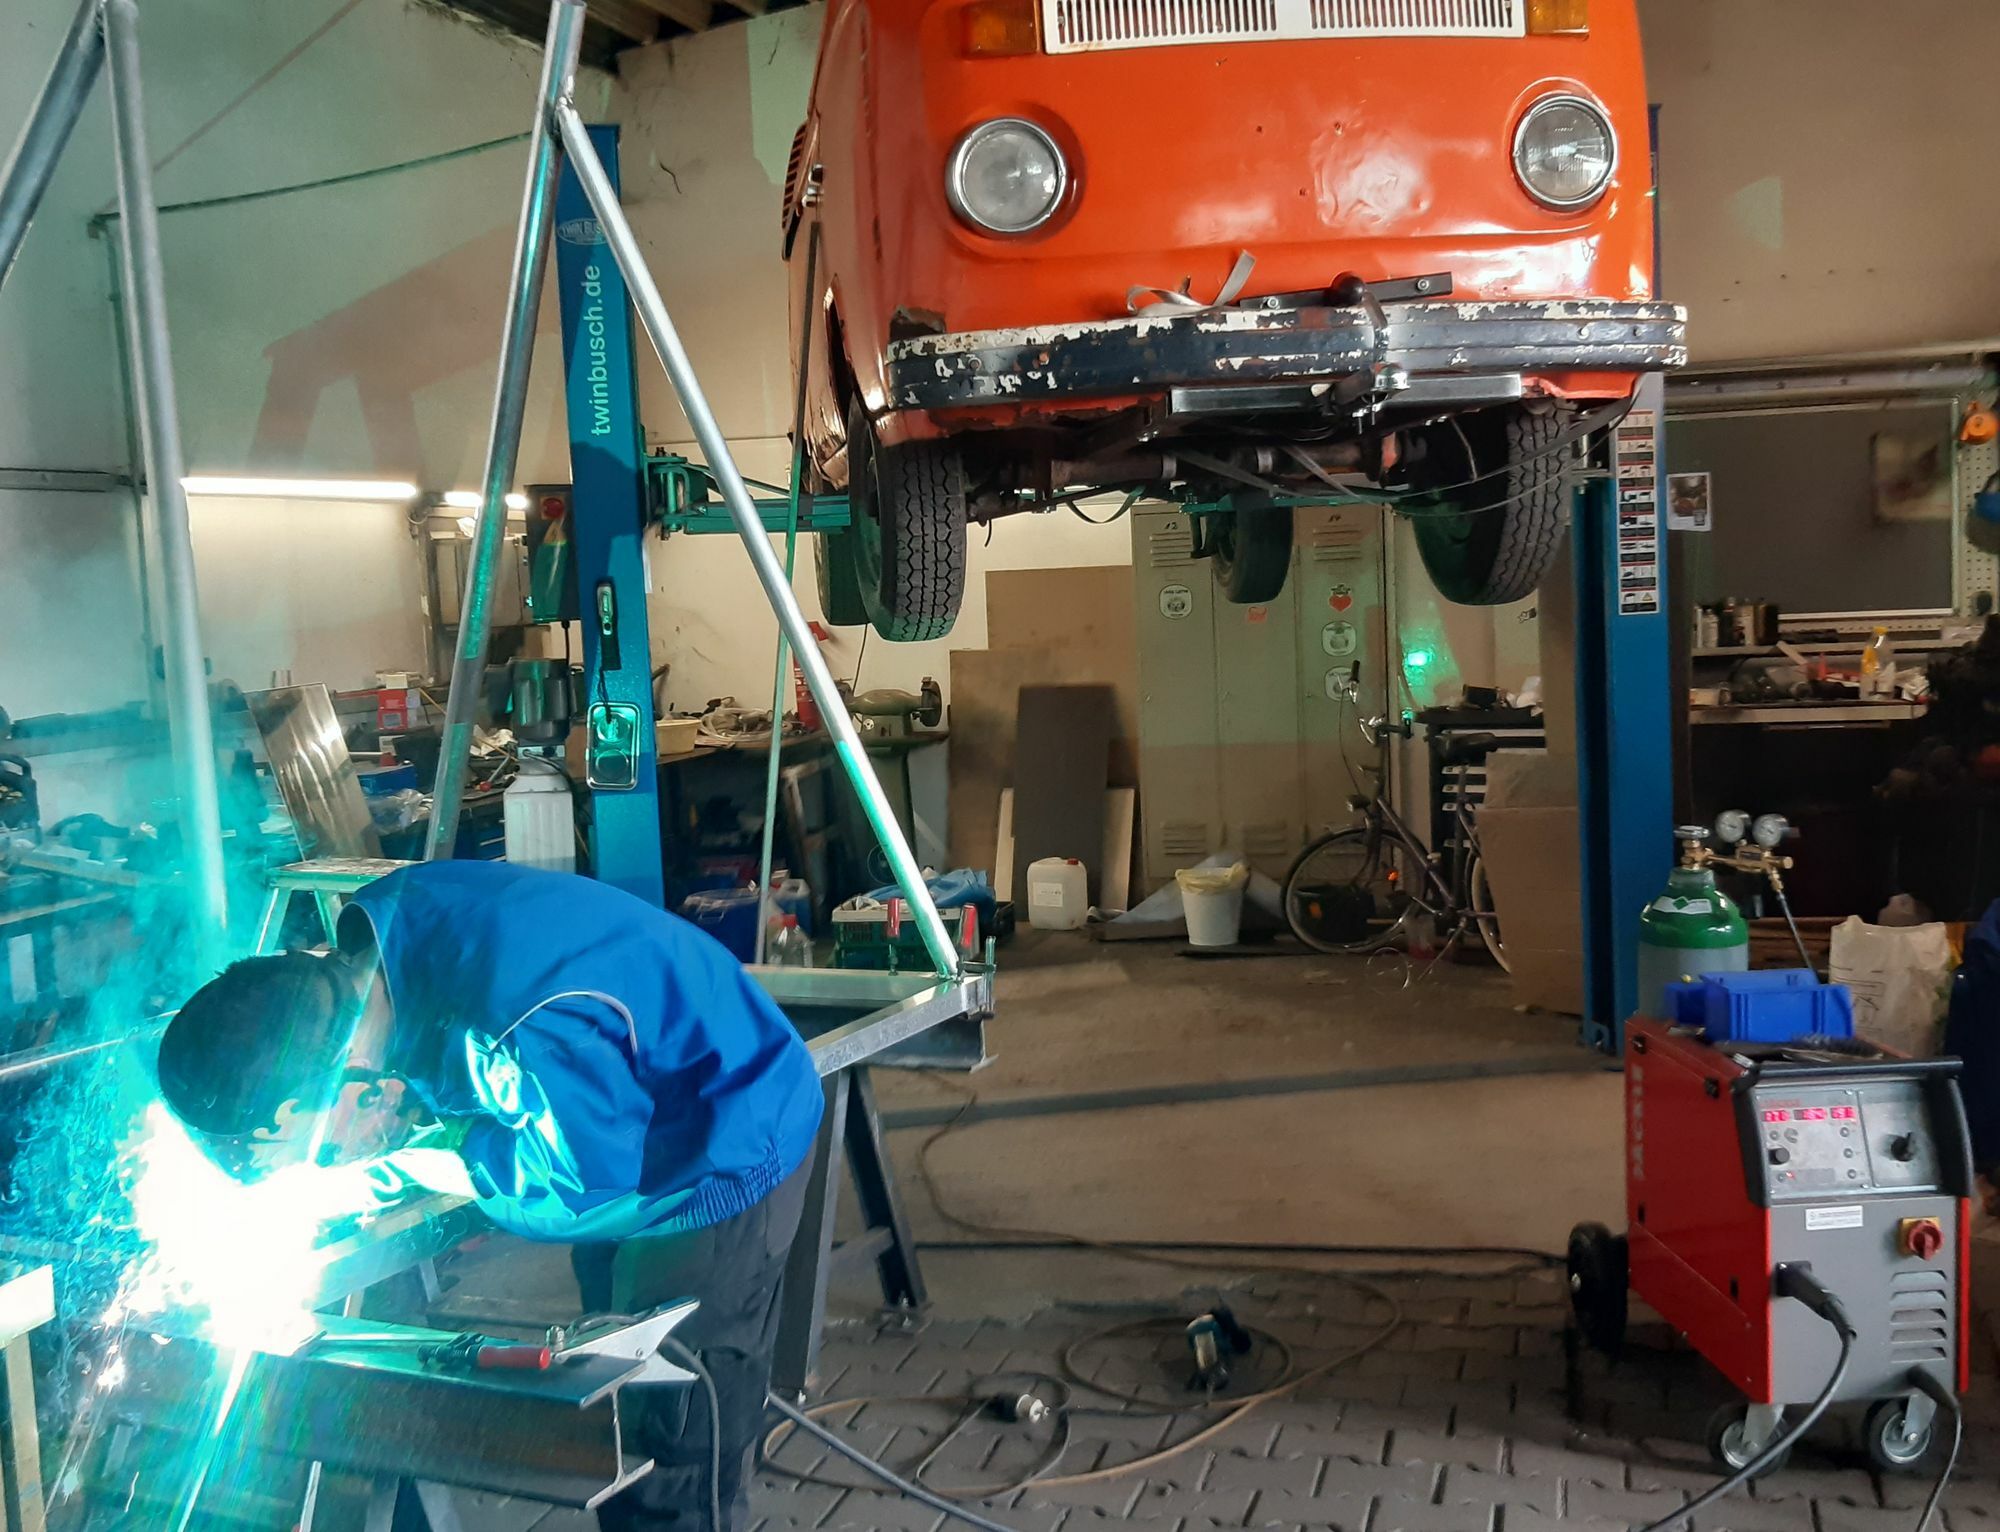
Either way, aluminium welding is no trivial matter and needs an experienced crafts person to do the job. Fortunately, Gerrit has plenty of MIG welding experience with steel which does not translate one to one with aluminium, but he quickly picked up the skill and made some excellent welds.
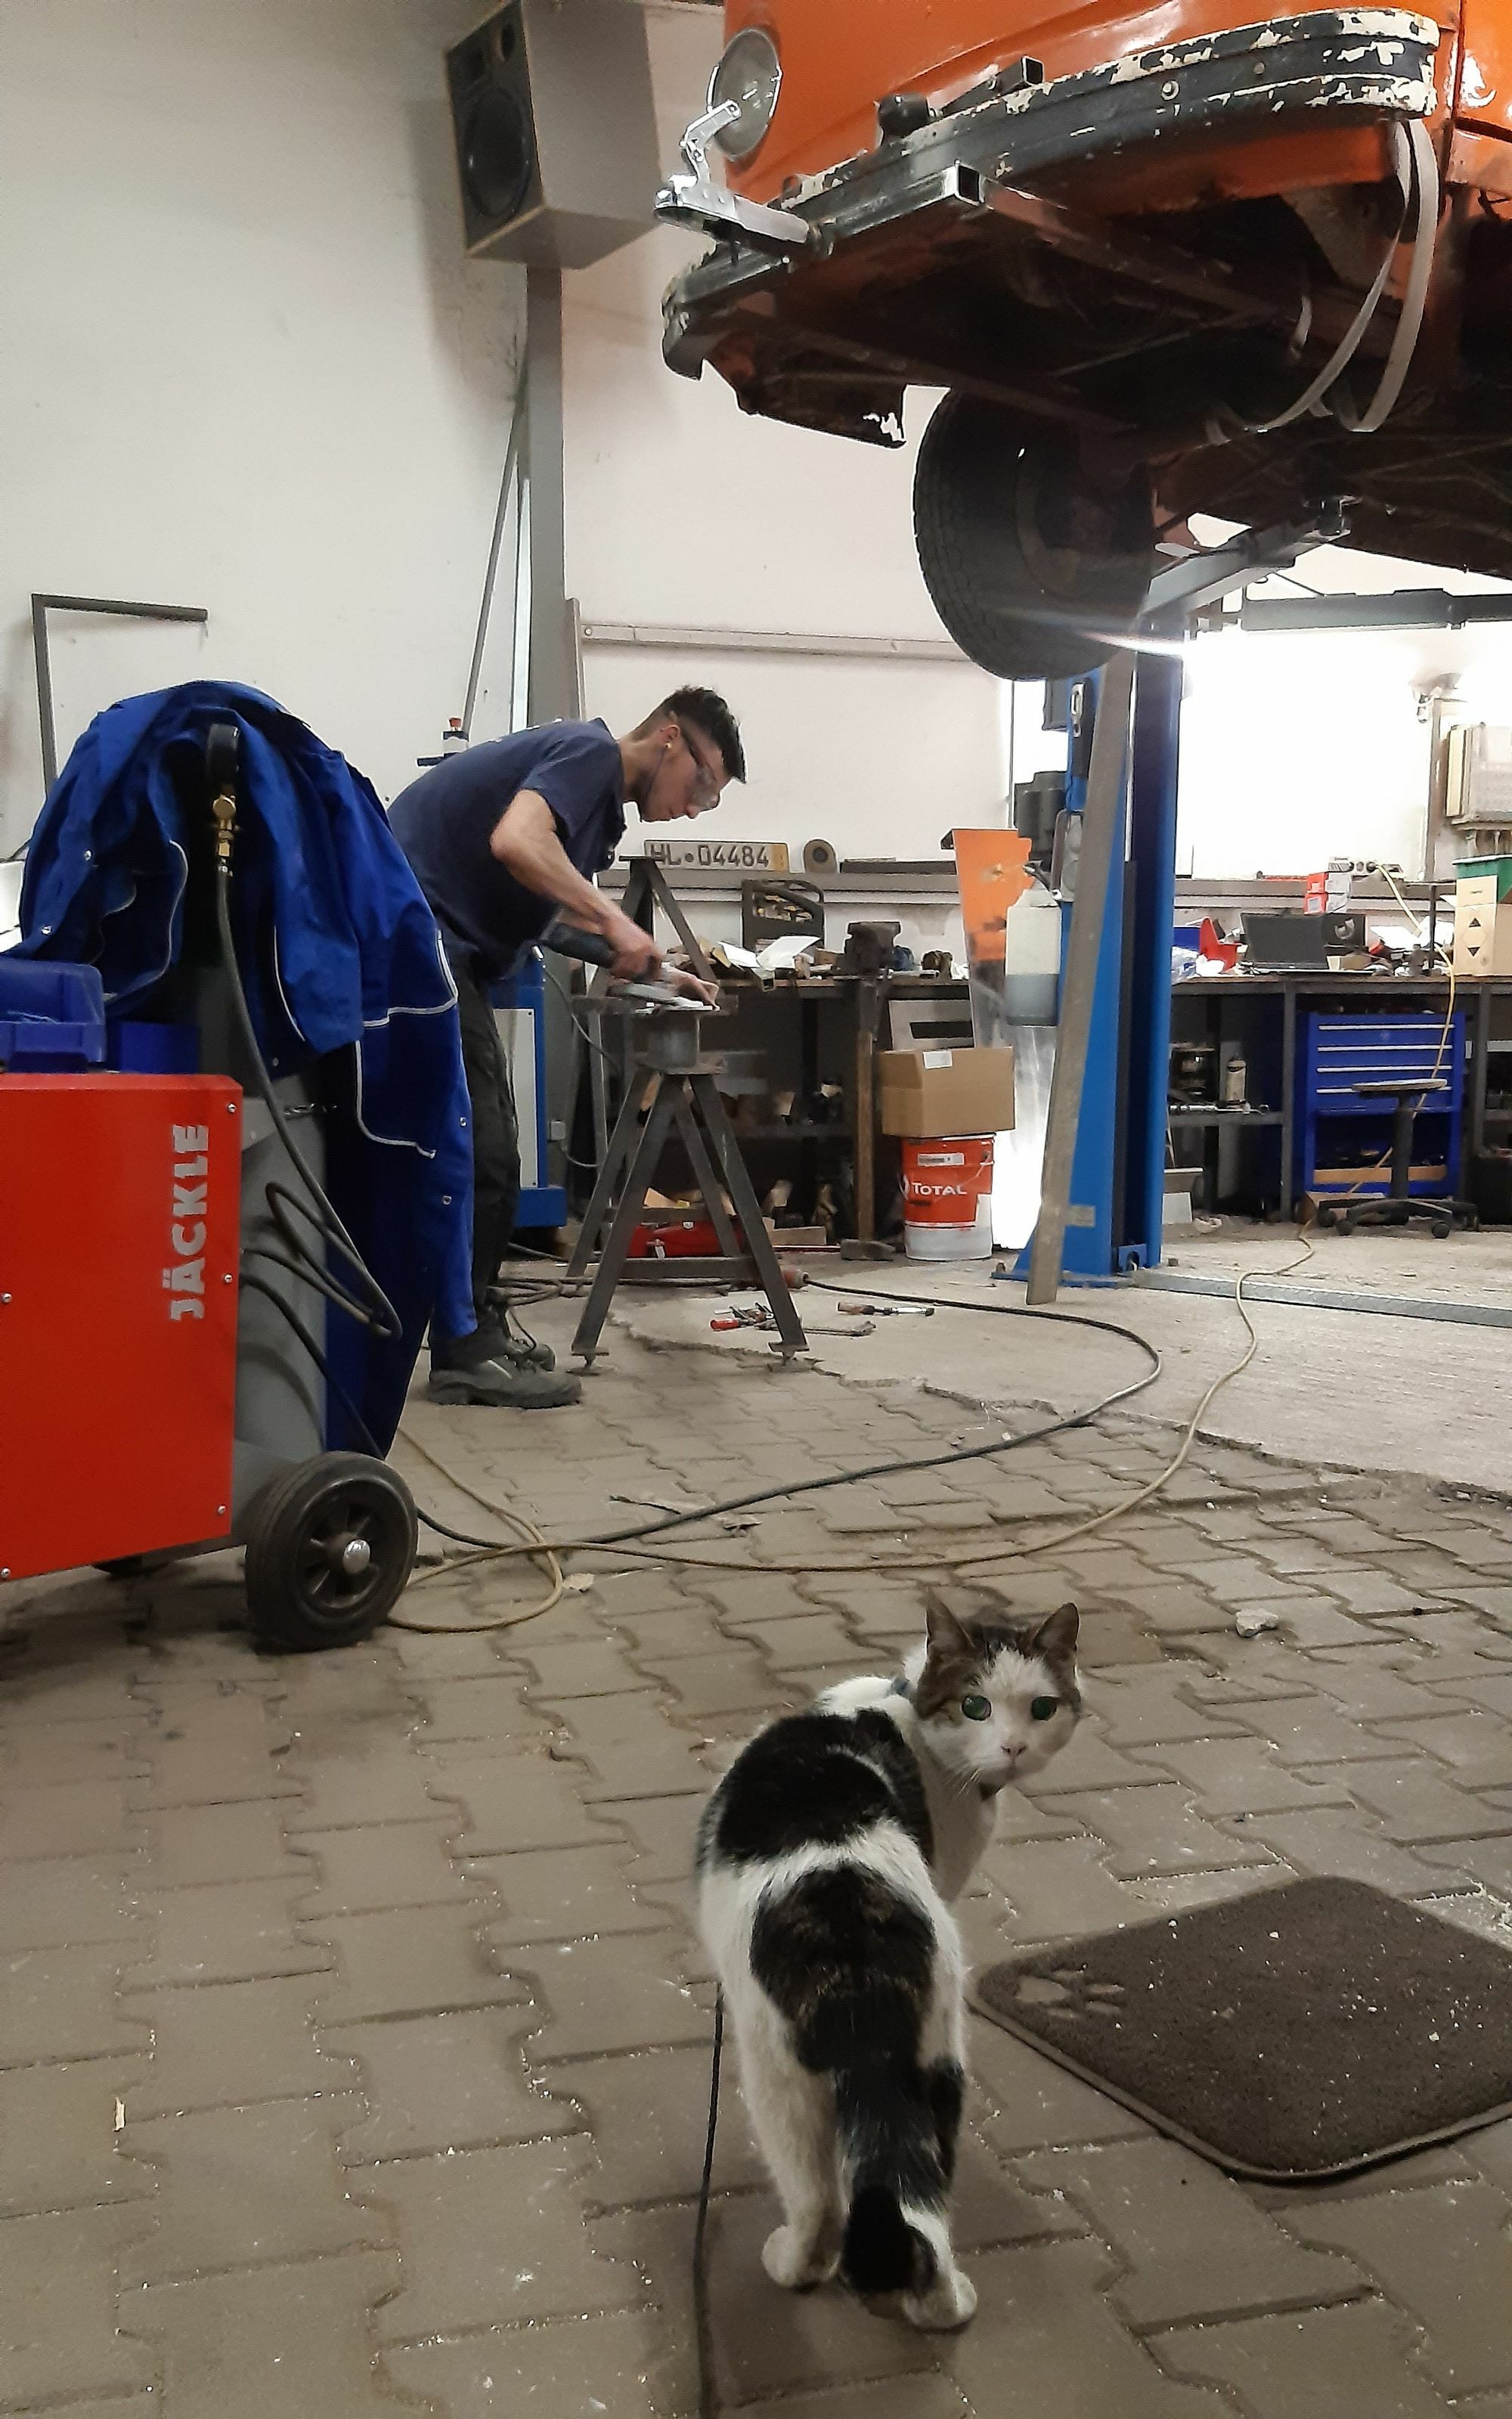
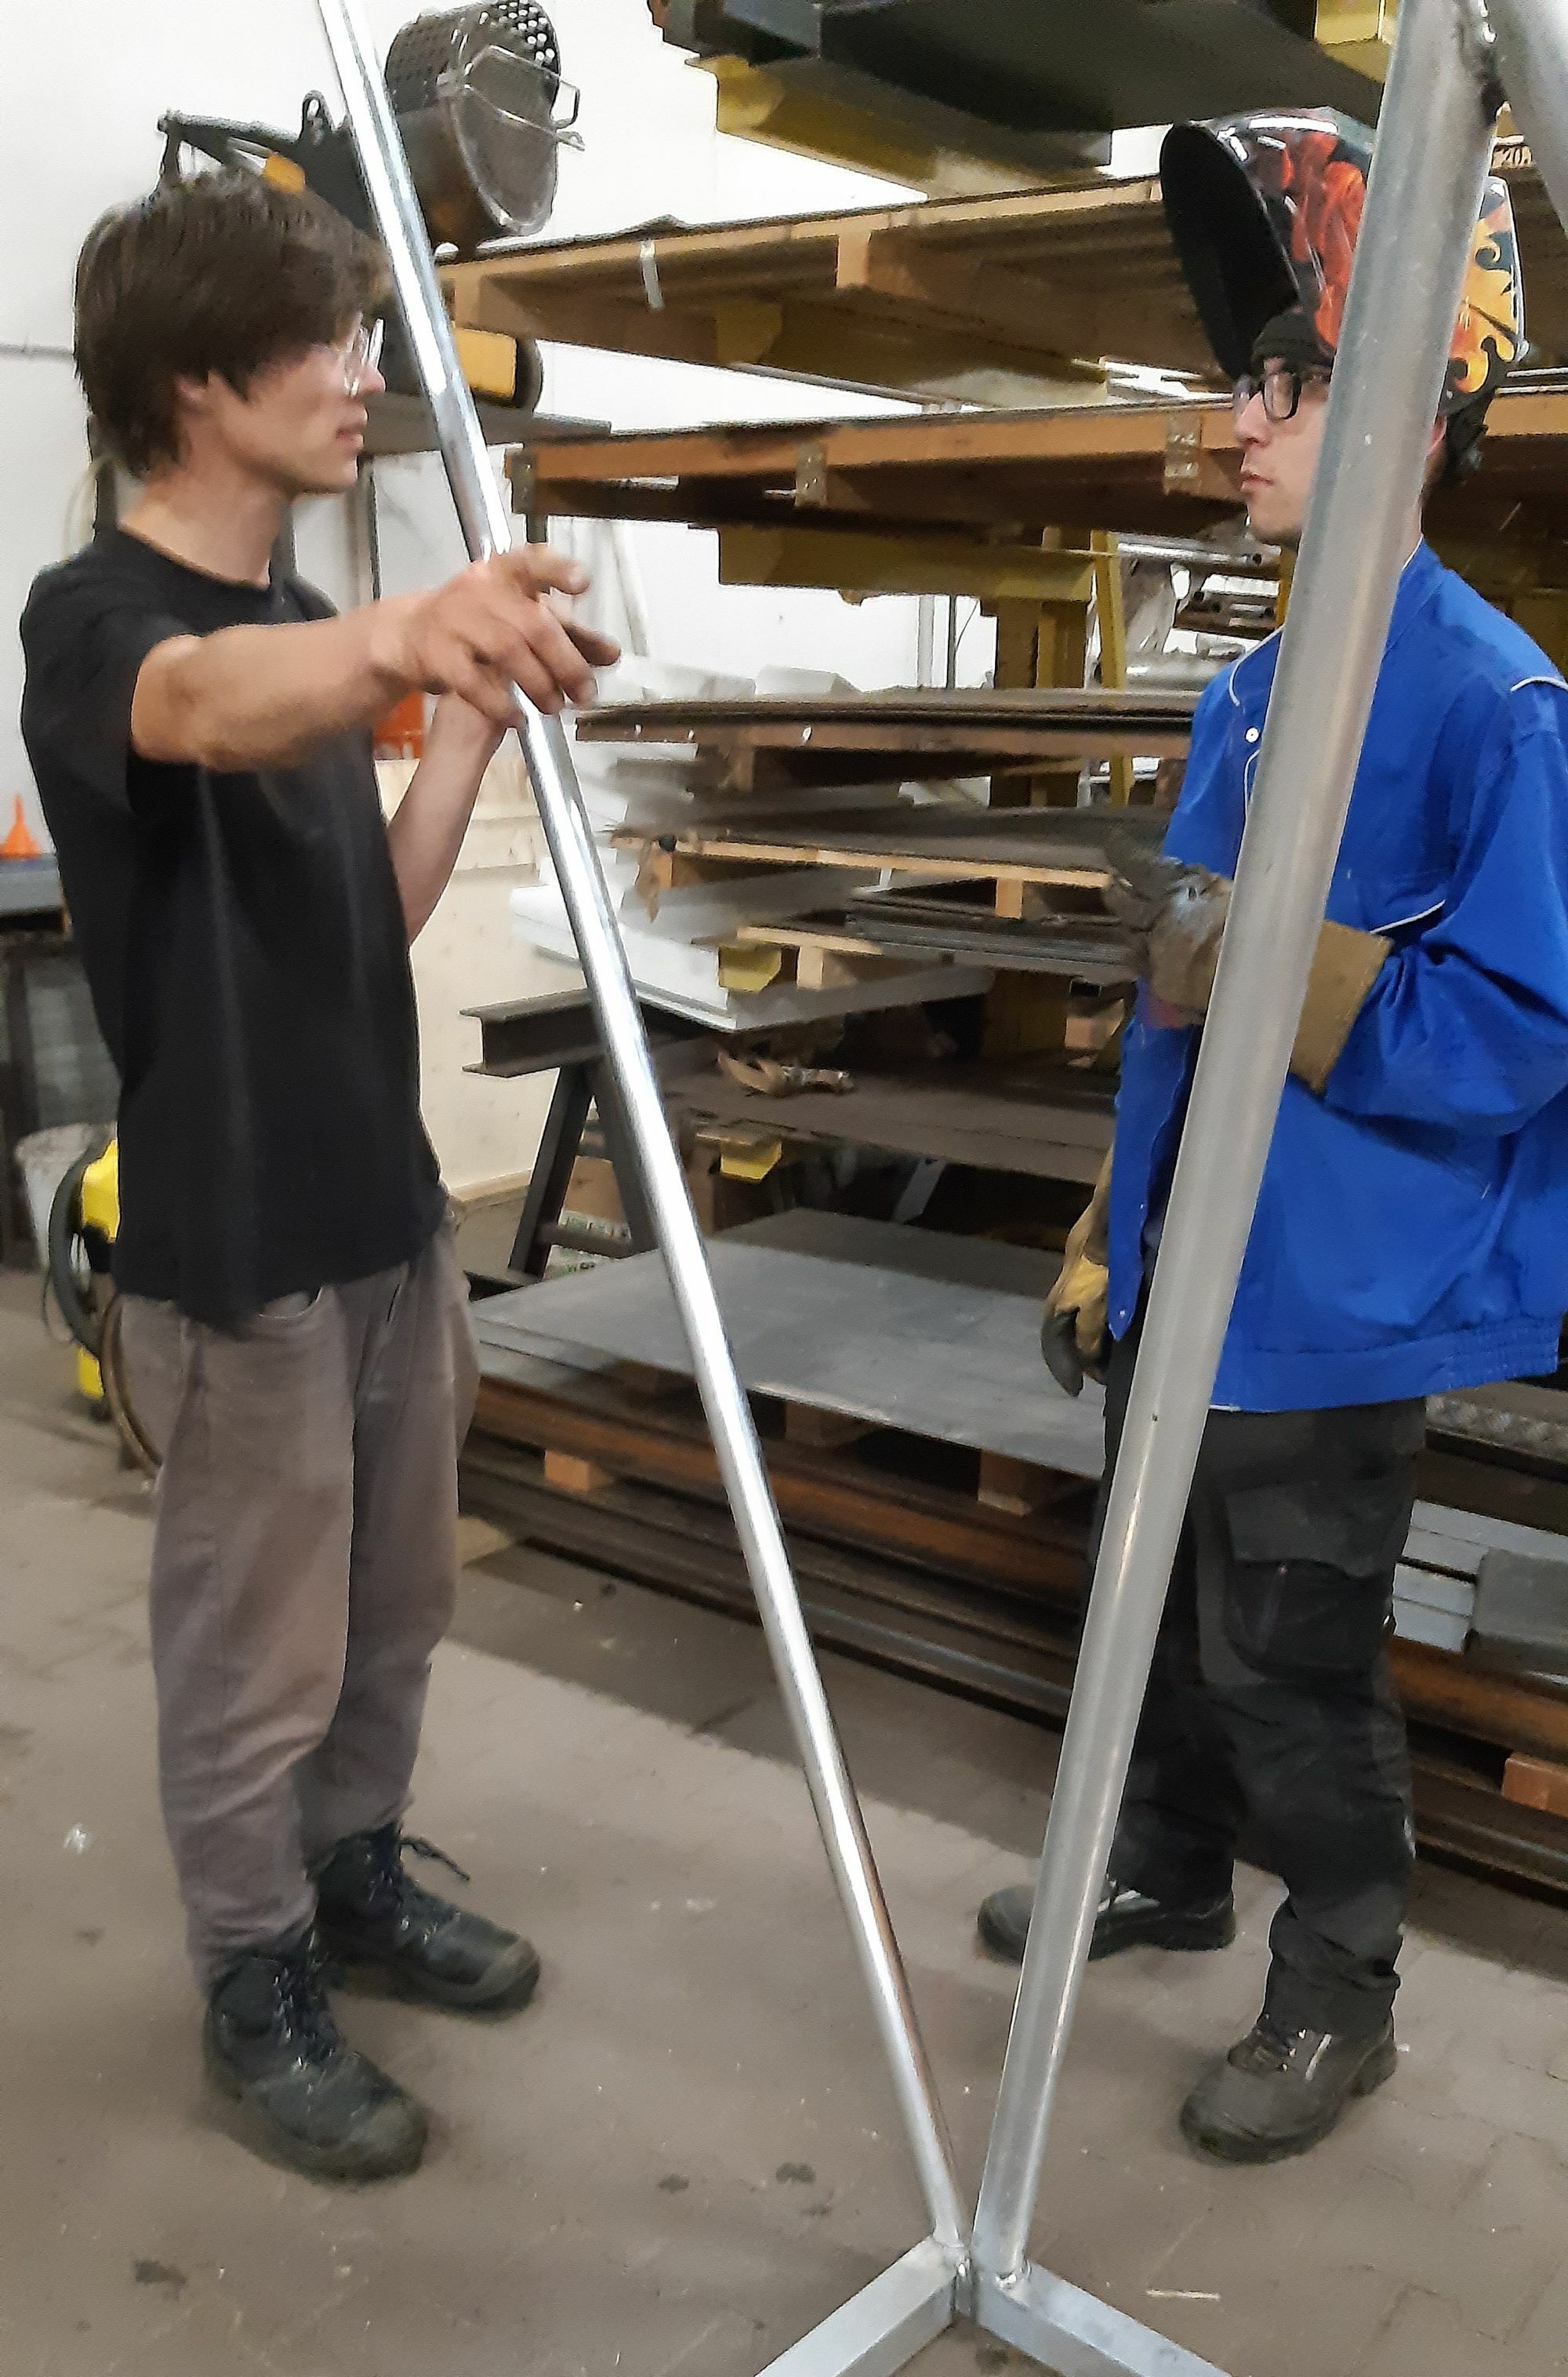
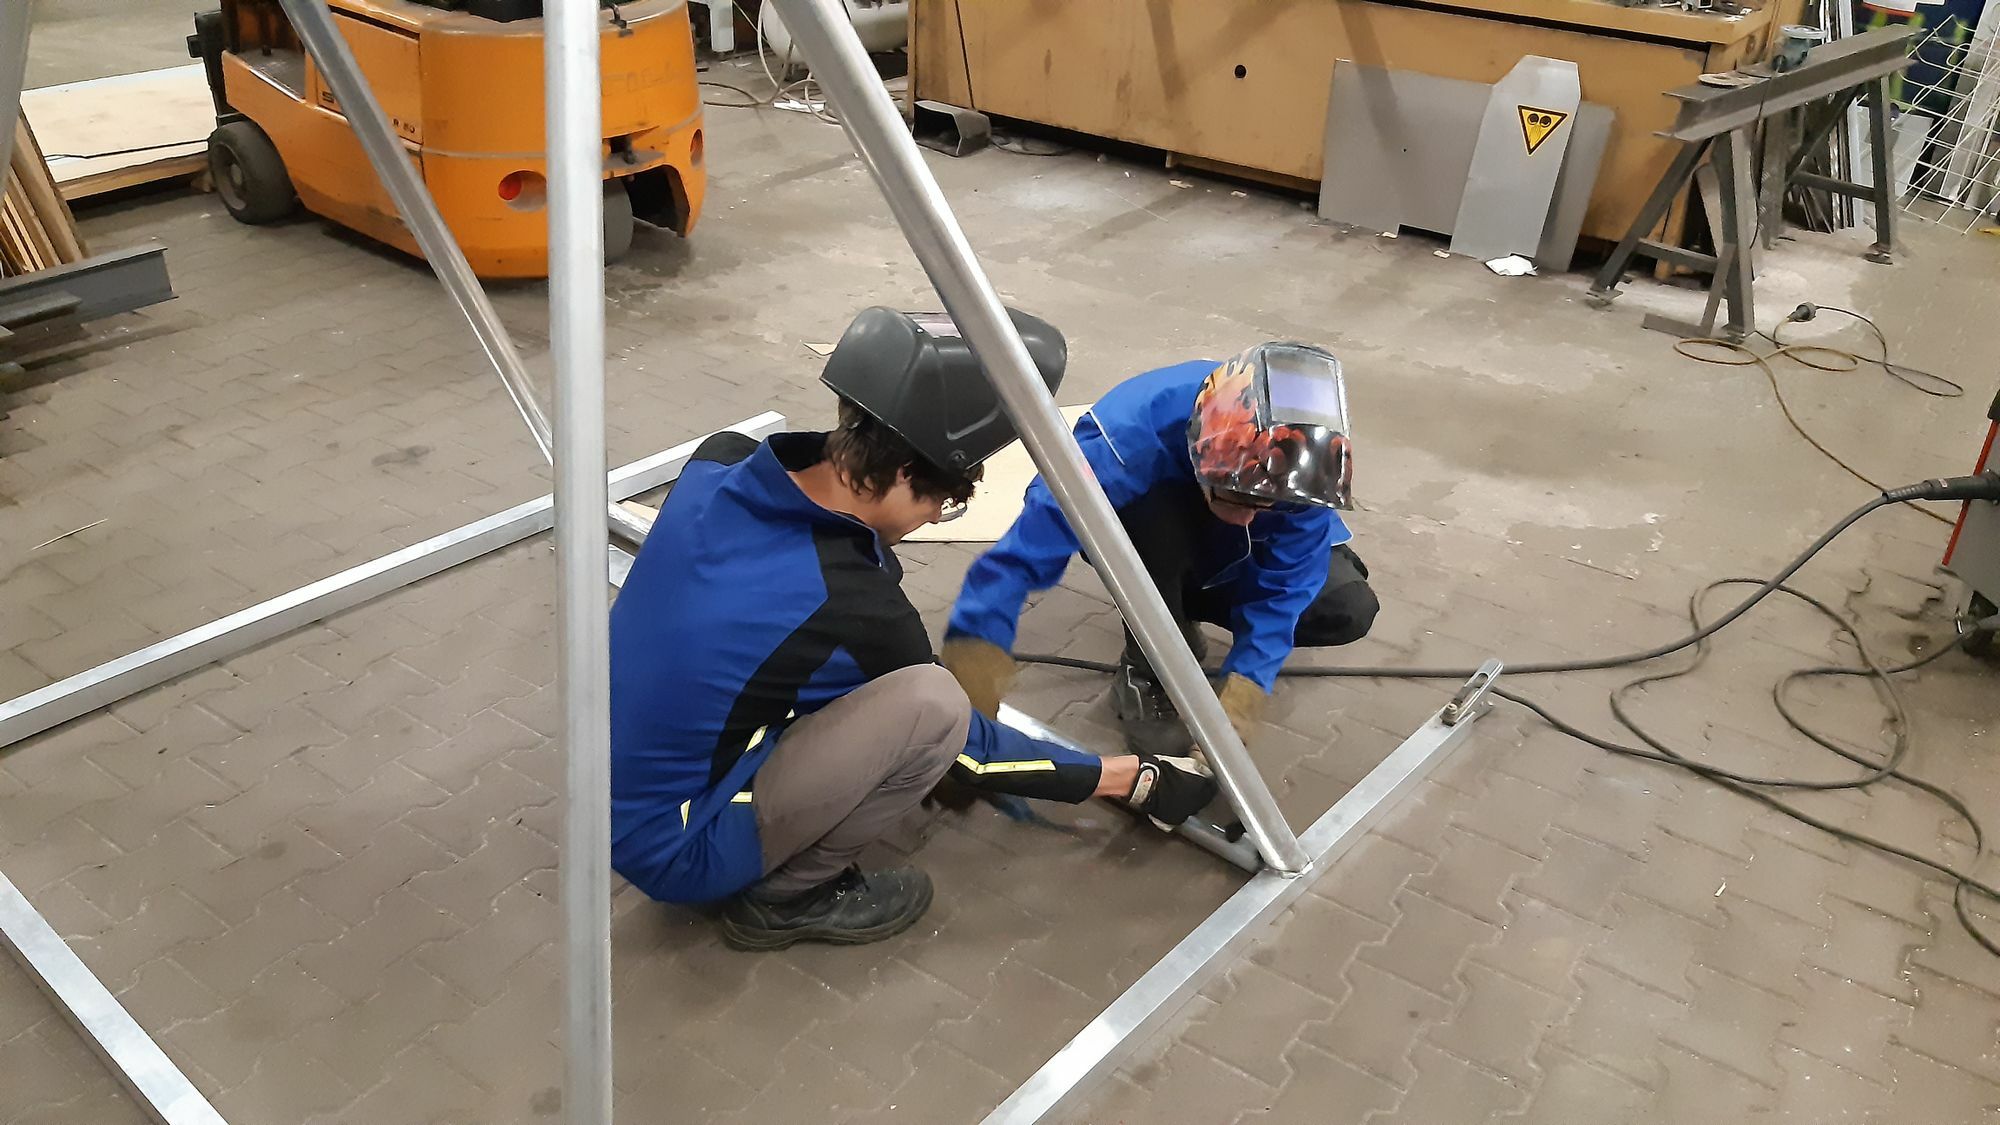
After one last late night push, in order to clear the workshop of this bulky contraption, we managed to finish the welding just in time. With a little help, we manage to get it onto the boat and back to the harbour. Now, all that's missing is installing it into its final position.
Using the mainsail halyard as crane we carefully placed the structure onto the stern of the boat. It felt wrong to drill the mounting holes into the boat, but once all the bolts are in place, everything looks like it belongs there.
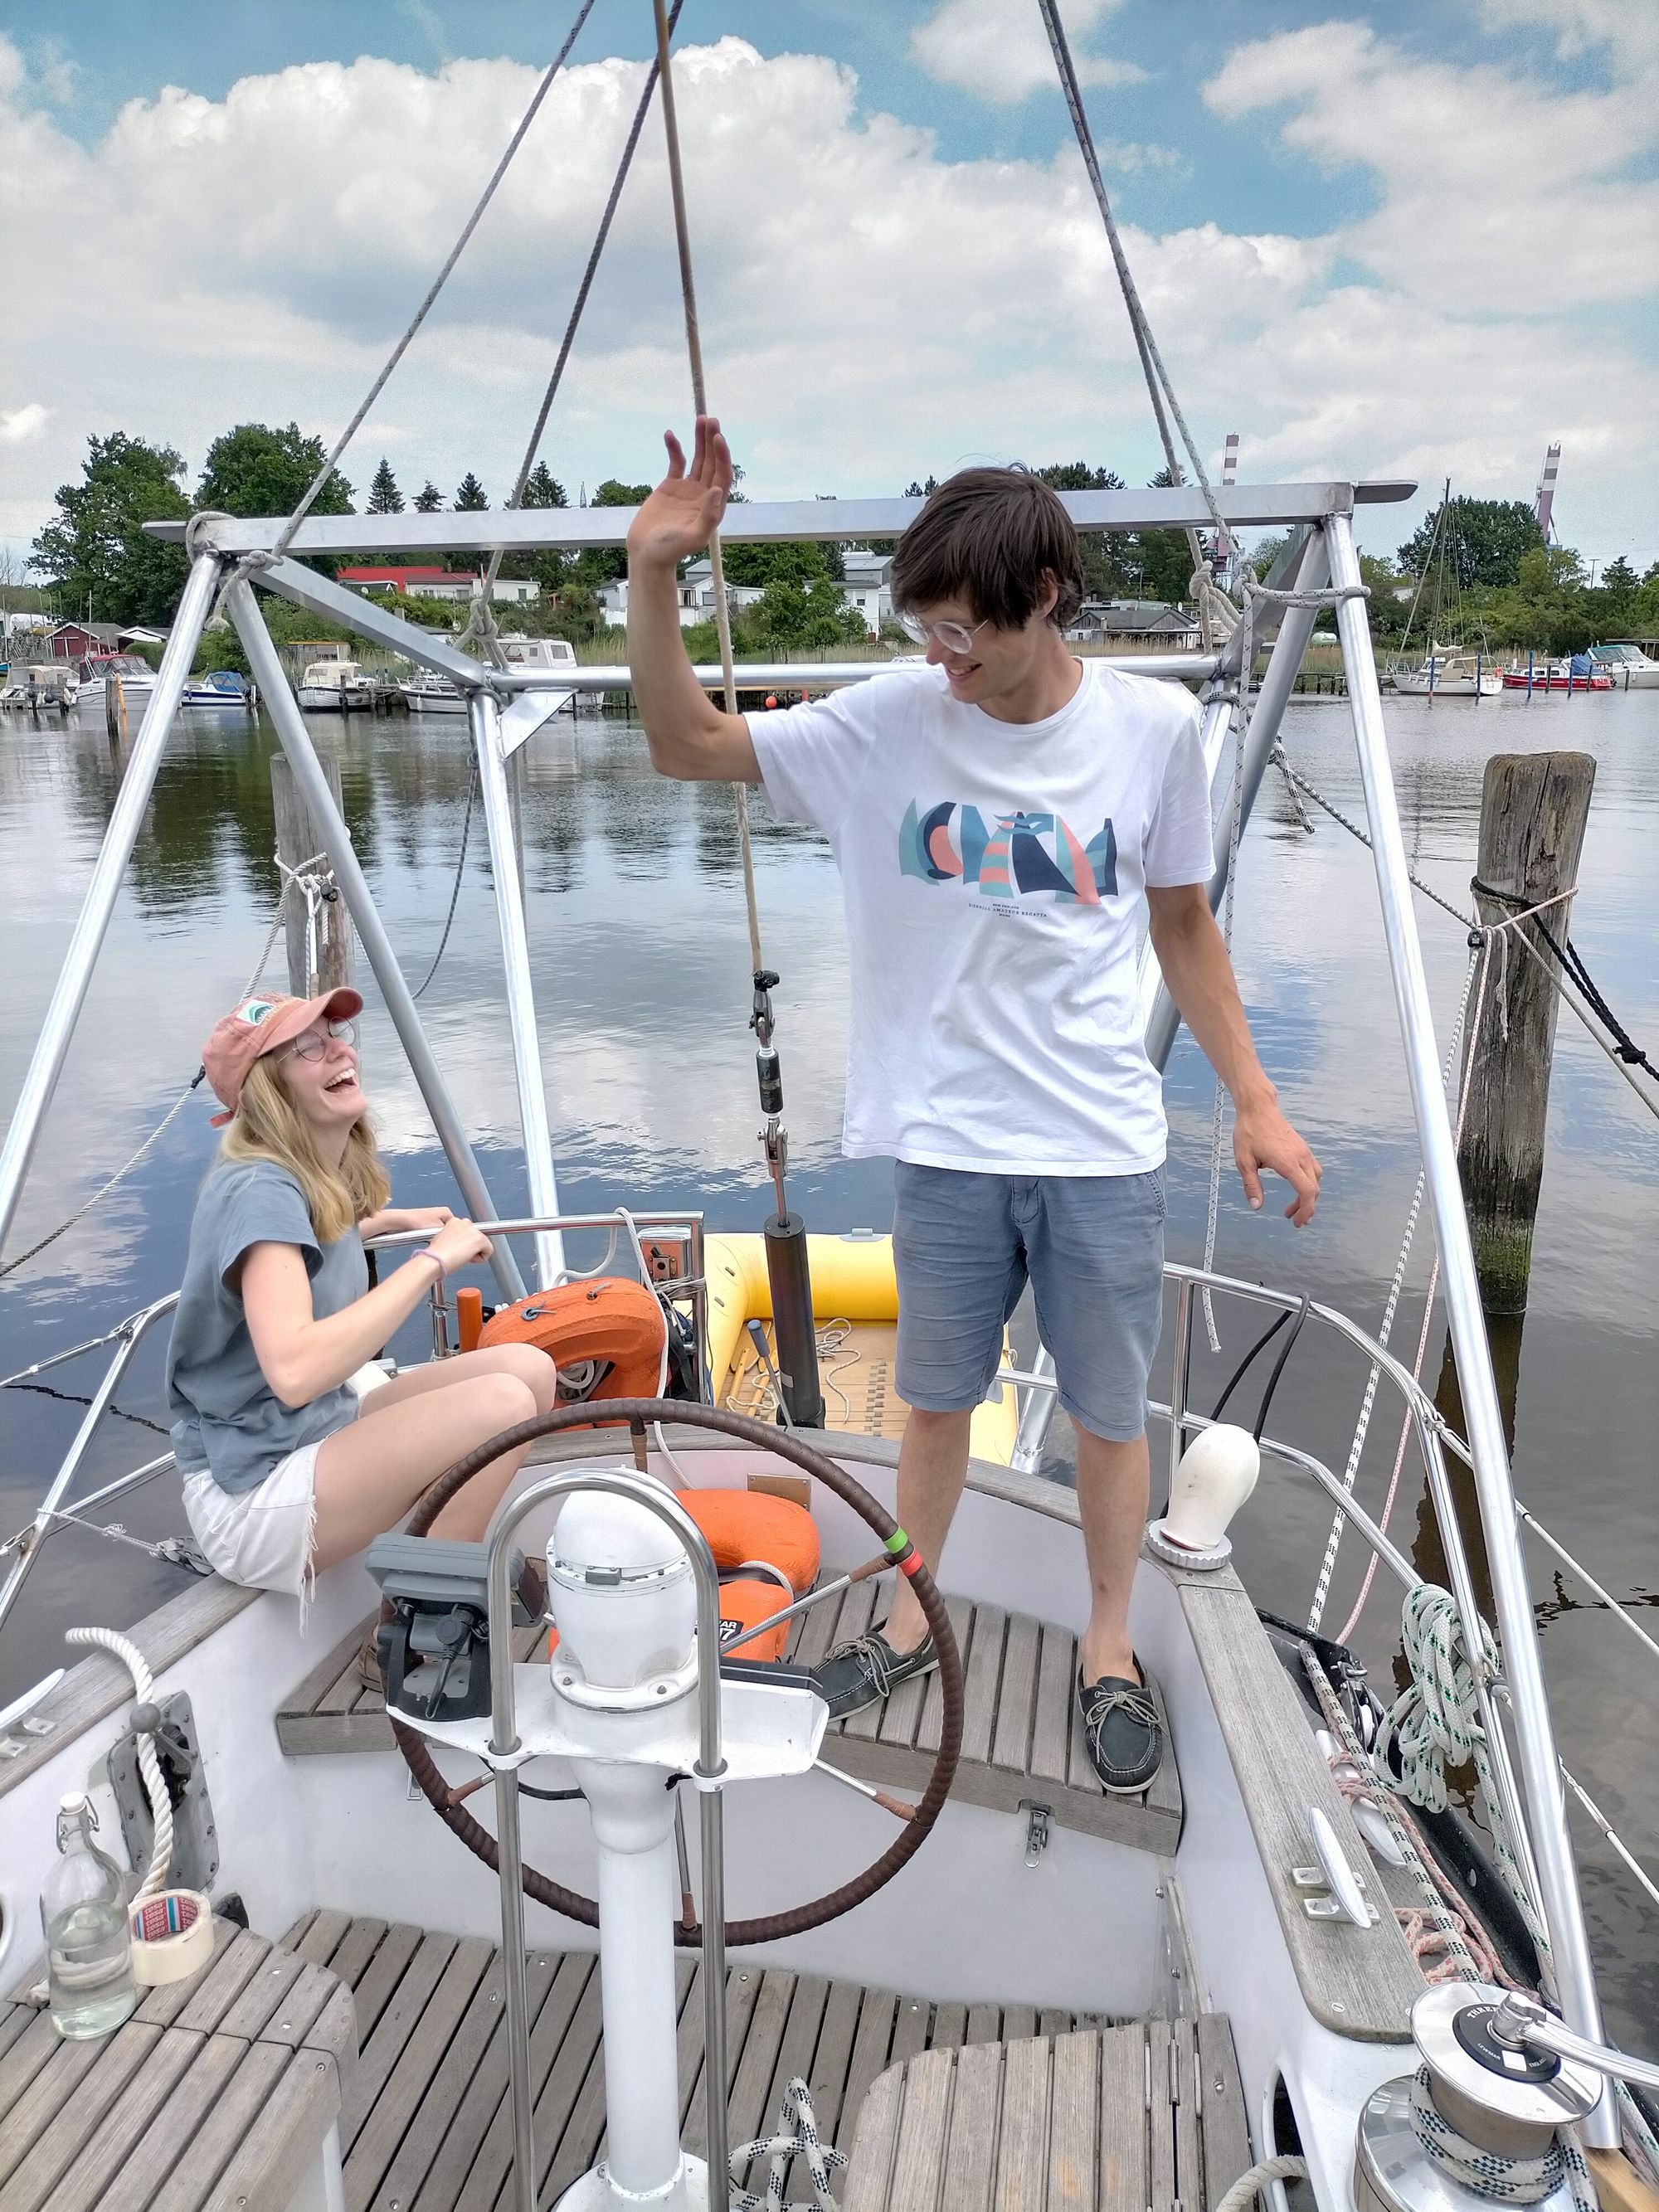
Adding reinforcements to the panels and attaching them takes another day, and its not until we are underway, that everything is wired up. The DMT1250 solar charger from Kisae can not only charge our batteries from the solar panels, but also, feed the power provided by the alternator into the battery bank. Small but powerful, this device enables us to generate enough power for the whole boat even on cloudy days.
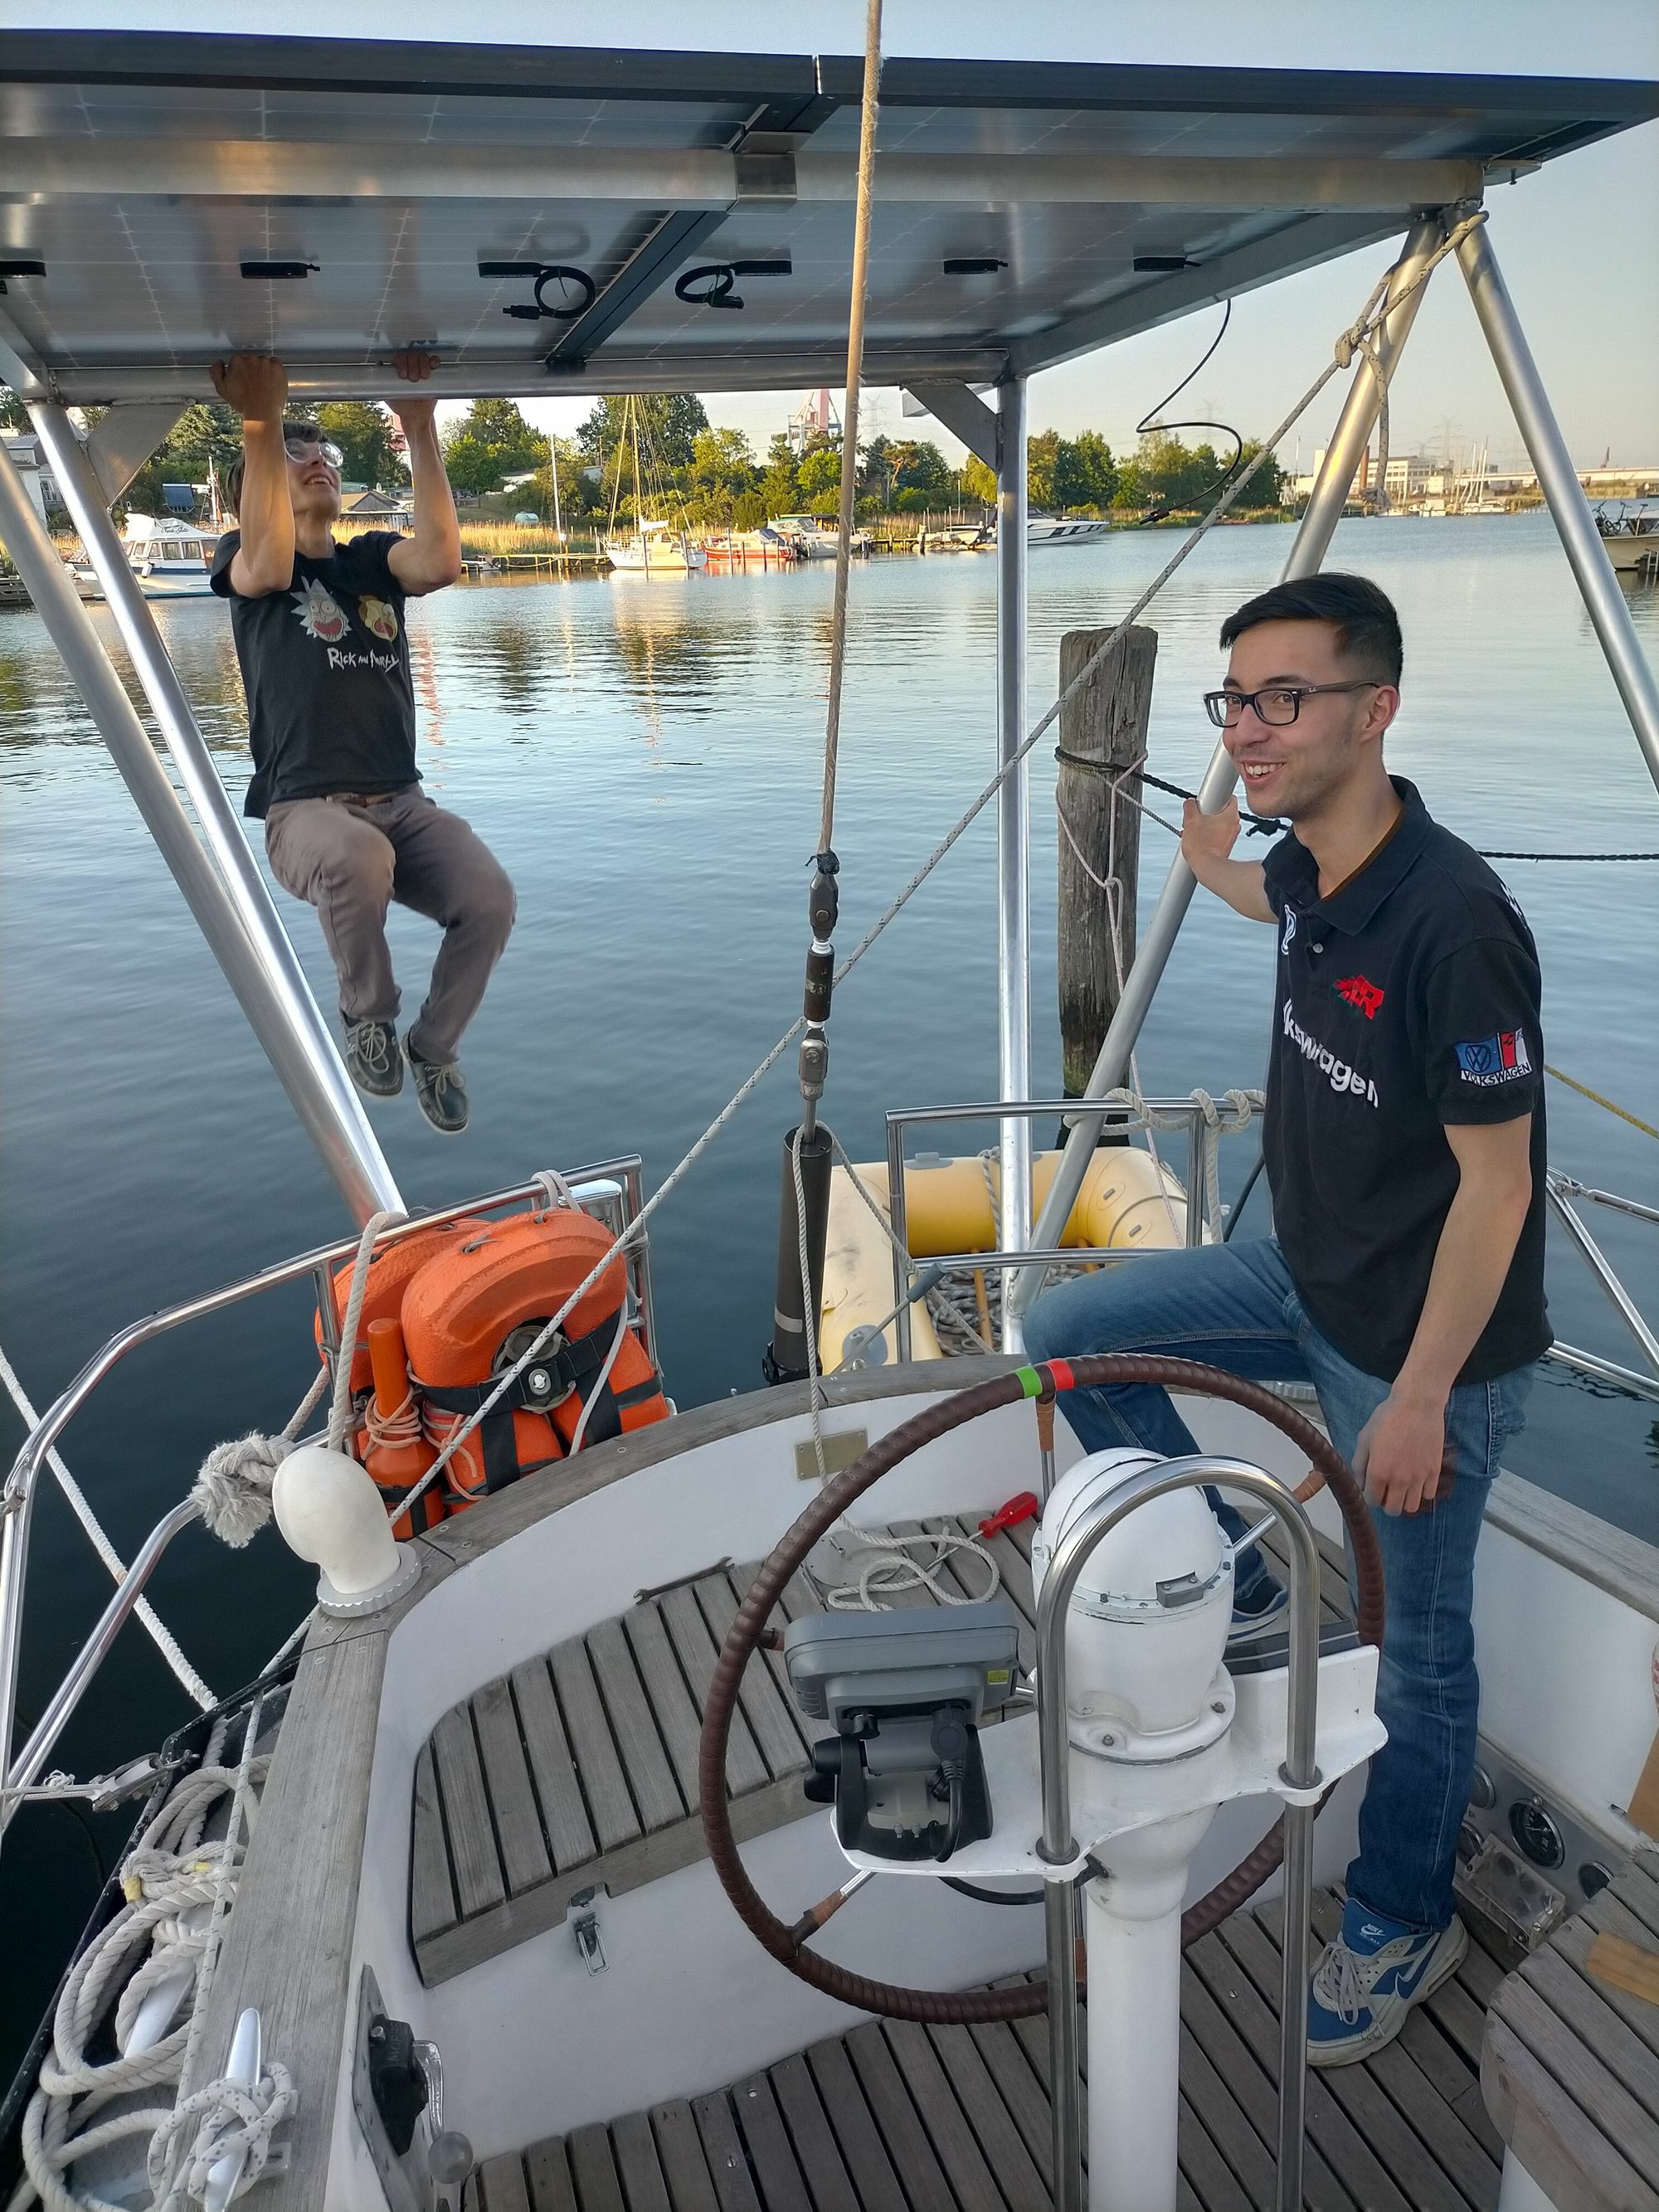
The times of nervously watching the battery voltage decline and connecting the boat to every possible electric outlet are over, we have now been going for almost three months essentially without ever having to connect to shore power.
A few other benefits of the large roof over the cockpit are that it provides some shade on sunny days and can shelter from the rain on downwind tacks.
Thanks again to our master welder, Gerrit, without whom this project would not have been possible.

