Winter Works
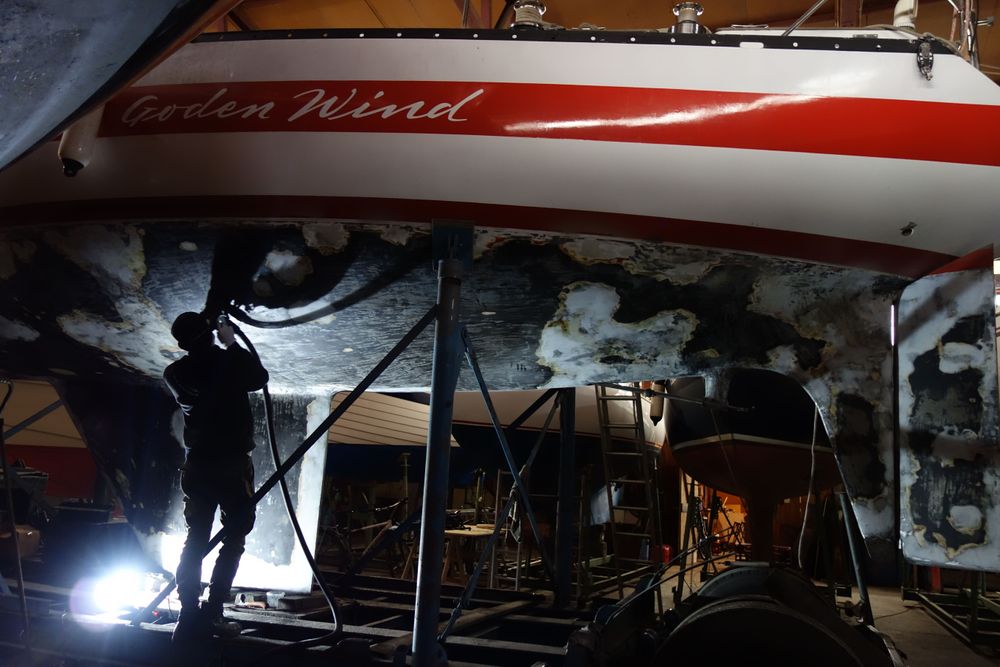
As she has not been given much attention in storage these past 10 years, it was necessary to address some of the maintenance we have been neglecting. So far we have been focusing on the underwater parts of the boat as the date for the crane (16th of April) is looming ever closer. Here are some of the things we are working on or have already done:
- Remove all old anti-fouling paint
- Sand Underwater part of boat
- Repair cracked epoxy
- Repair barrier coat
- New bar tape on steering wheel
- New fresh water pump
- New propane gas hoses and regulator
- Repair toilet seat
- Install new propeller
- Replace propeller shaft seals
- Clean and service stove
- Rewire fuel pump
- Rewire alternator charging circuit
Redressing
This winter we decided to put a little more effort into the underwater portion of the Goden Wind. It has been a long time since all the anti-fouling has been stripped and the barrier coat has been given a proper check-up.
Since her hull is made from aluminium, she is susceptible to two types of corrosion, galvanic and electrolytic, which basically means the ship turns into a battery and gradually dissolves. Galvanic corrosion occurs when two different metals are in electrical contact with each other and are submerged in a conductive solution such as salt water, a current can flow from one meta to another. This means electrons will travel from the less noble metal, usually aluminium, weakening it to the more noble metal. Electrolytic corrosion occurs when there is a stray current from an electrical source (either on the vessel or from outside) causing a metal to become anodic with respect to some other metal in the same electrolyte (salt water).
This means all the electrical systems on the boat need to be isolated from the hull and special care taken so that there is never any potential for currents to flow through the hull. To further protect aluminium effectively from galvanic and electrolytic corrosion, a thick barrier coat of durable epoxy paint needs to be applied to he hull. This acts as an electrical insulator between the ship and the water. Sacrificial anodes can also be used to protect the less noble metals by sacrificing themselves instead of the boat itself.
The first major job was to remove all the old anti-fouling paint which has been built up to quite a thick layer over the years. First, we tried using a dry sander with a vacuum attached but that proved to be very slow, as the layer was too thick. Instead of aggressive chemical methods I opted for the manual method of using a scraping tool, which proved quite effective, but it still took around 16 hours of scraping to get all the paint off and left me looking like a mine worker or chimney sweep afterwards.
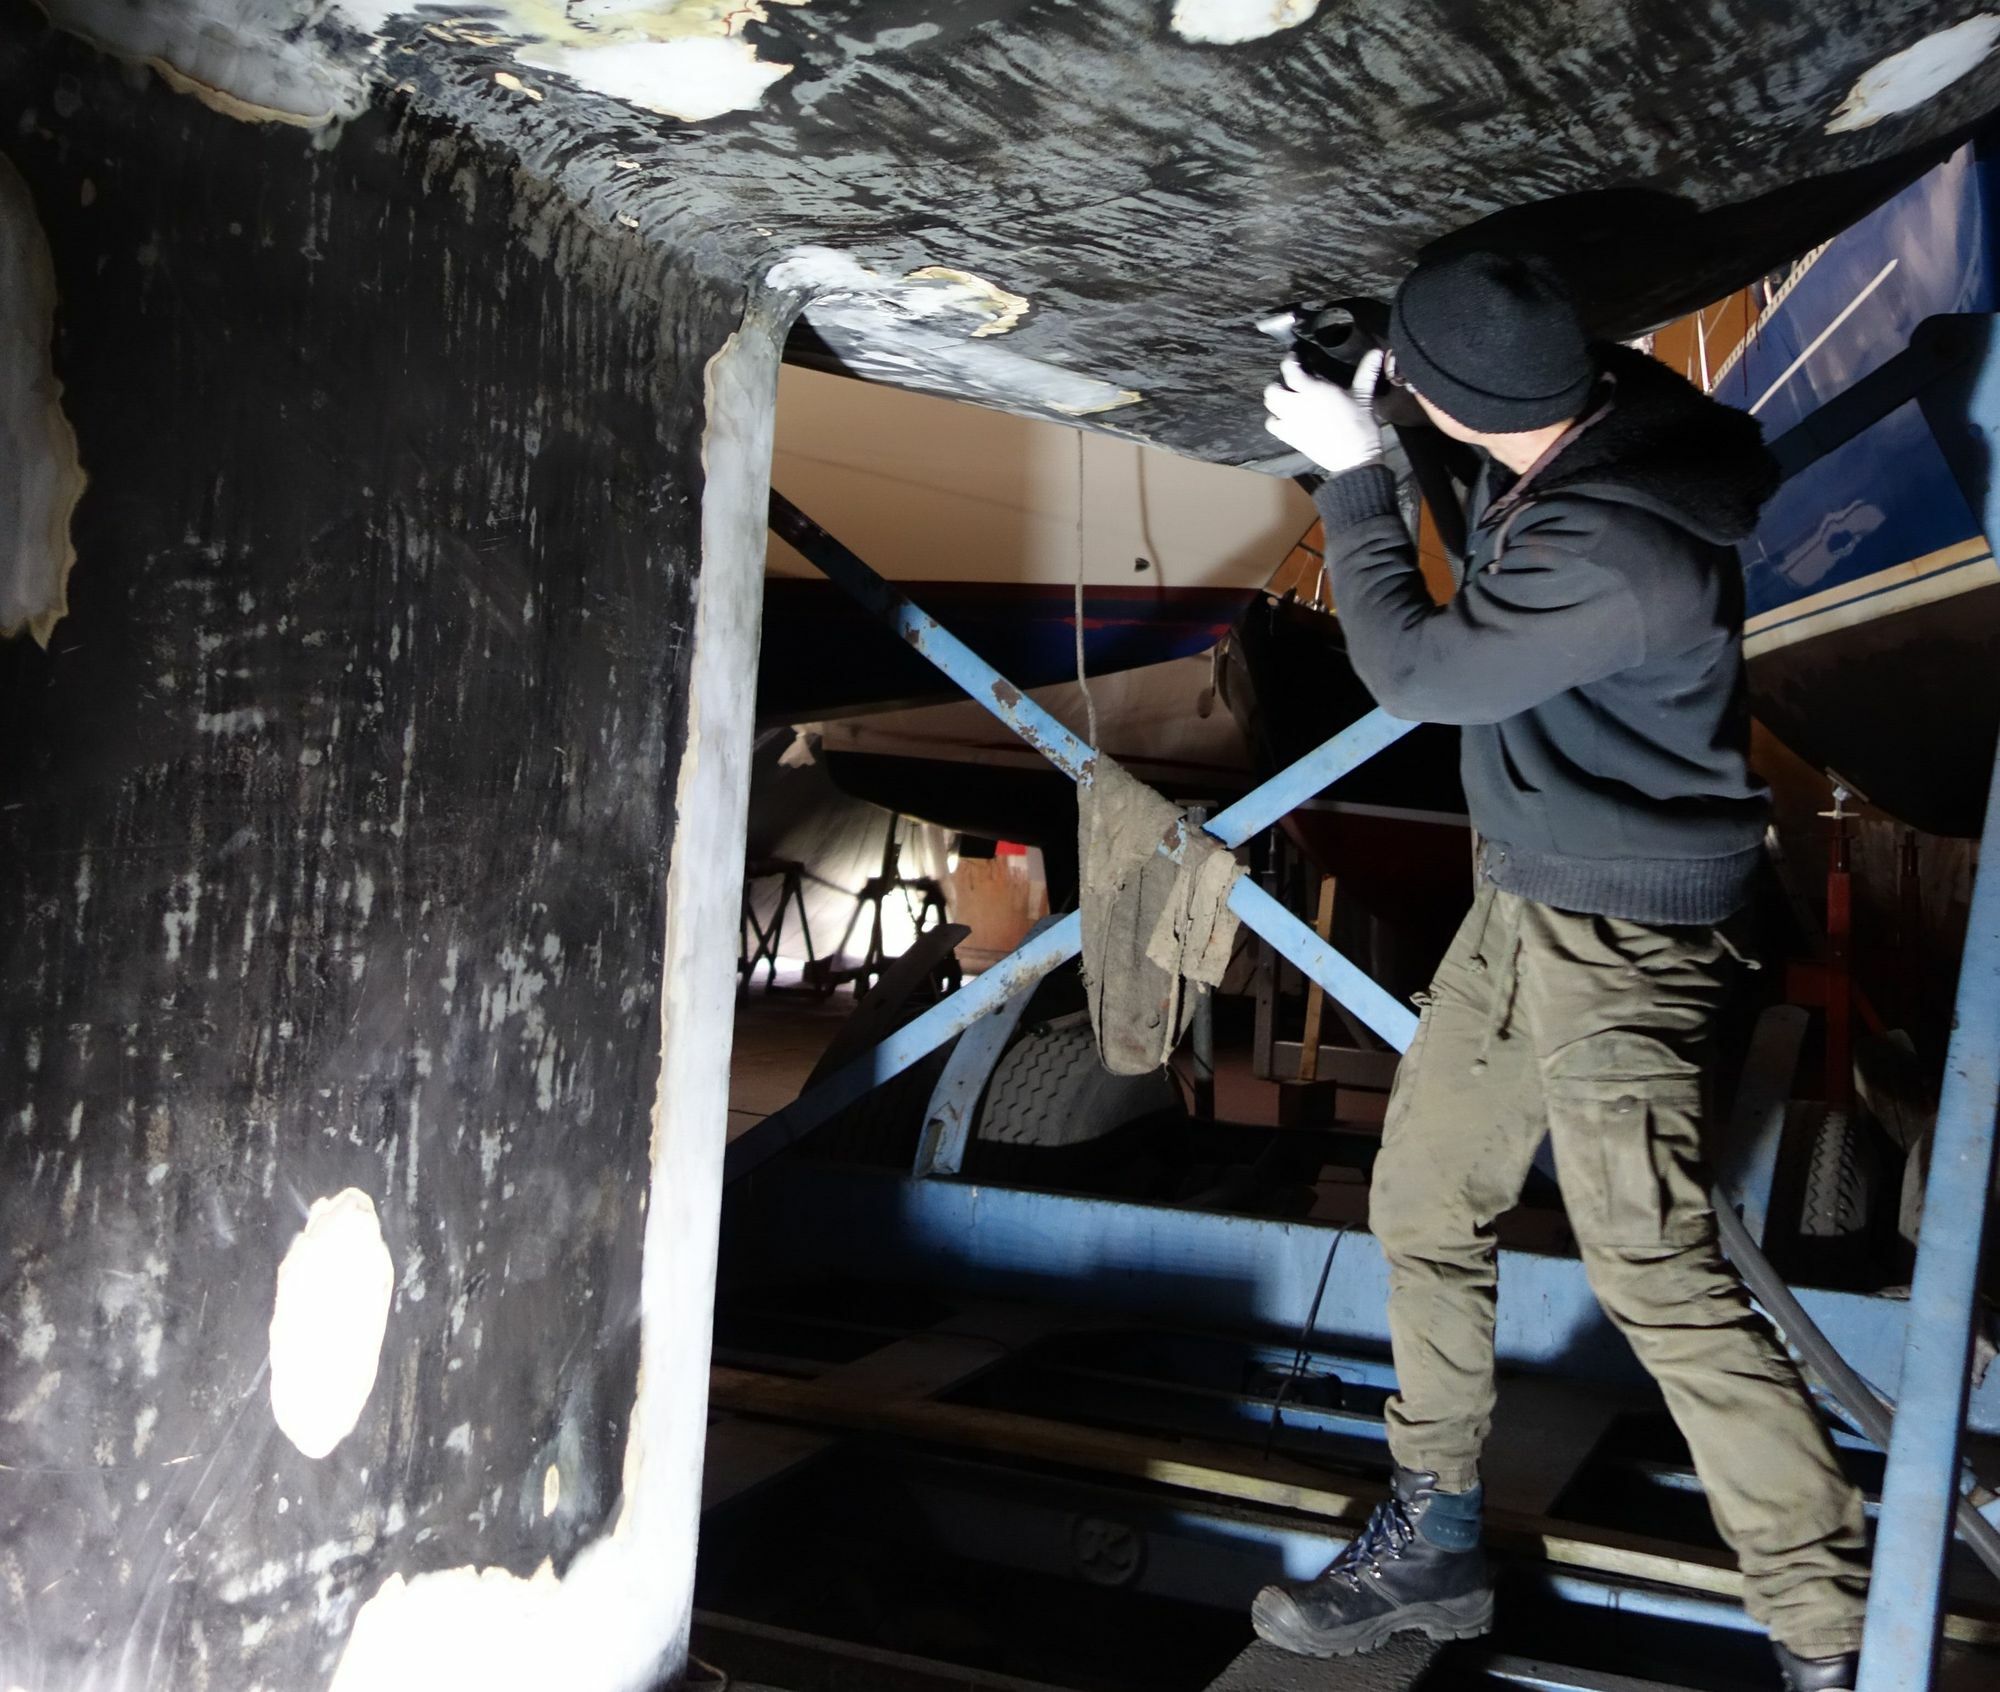
Now all that surface needs to be smoothed out and any loose paint removed. Which means... many, many hours of sanding!
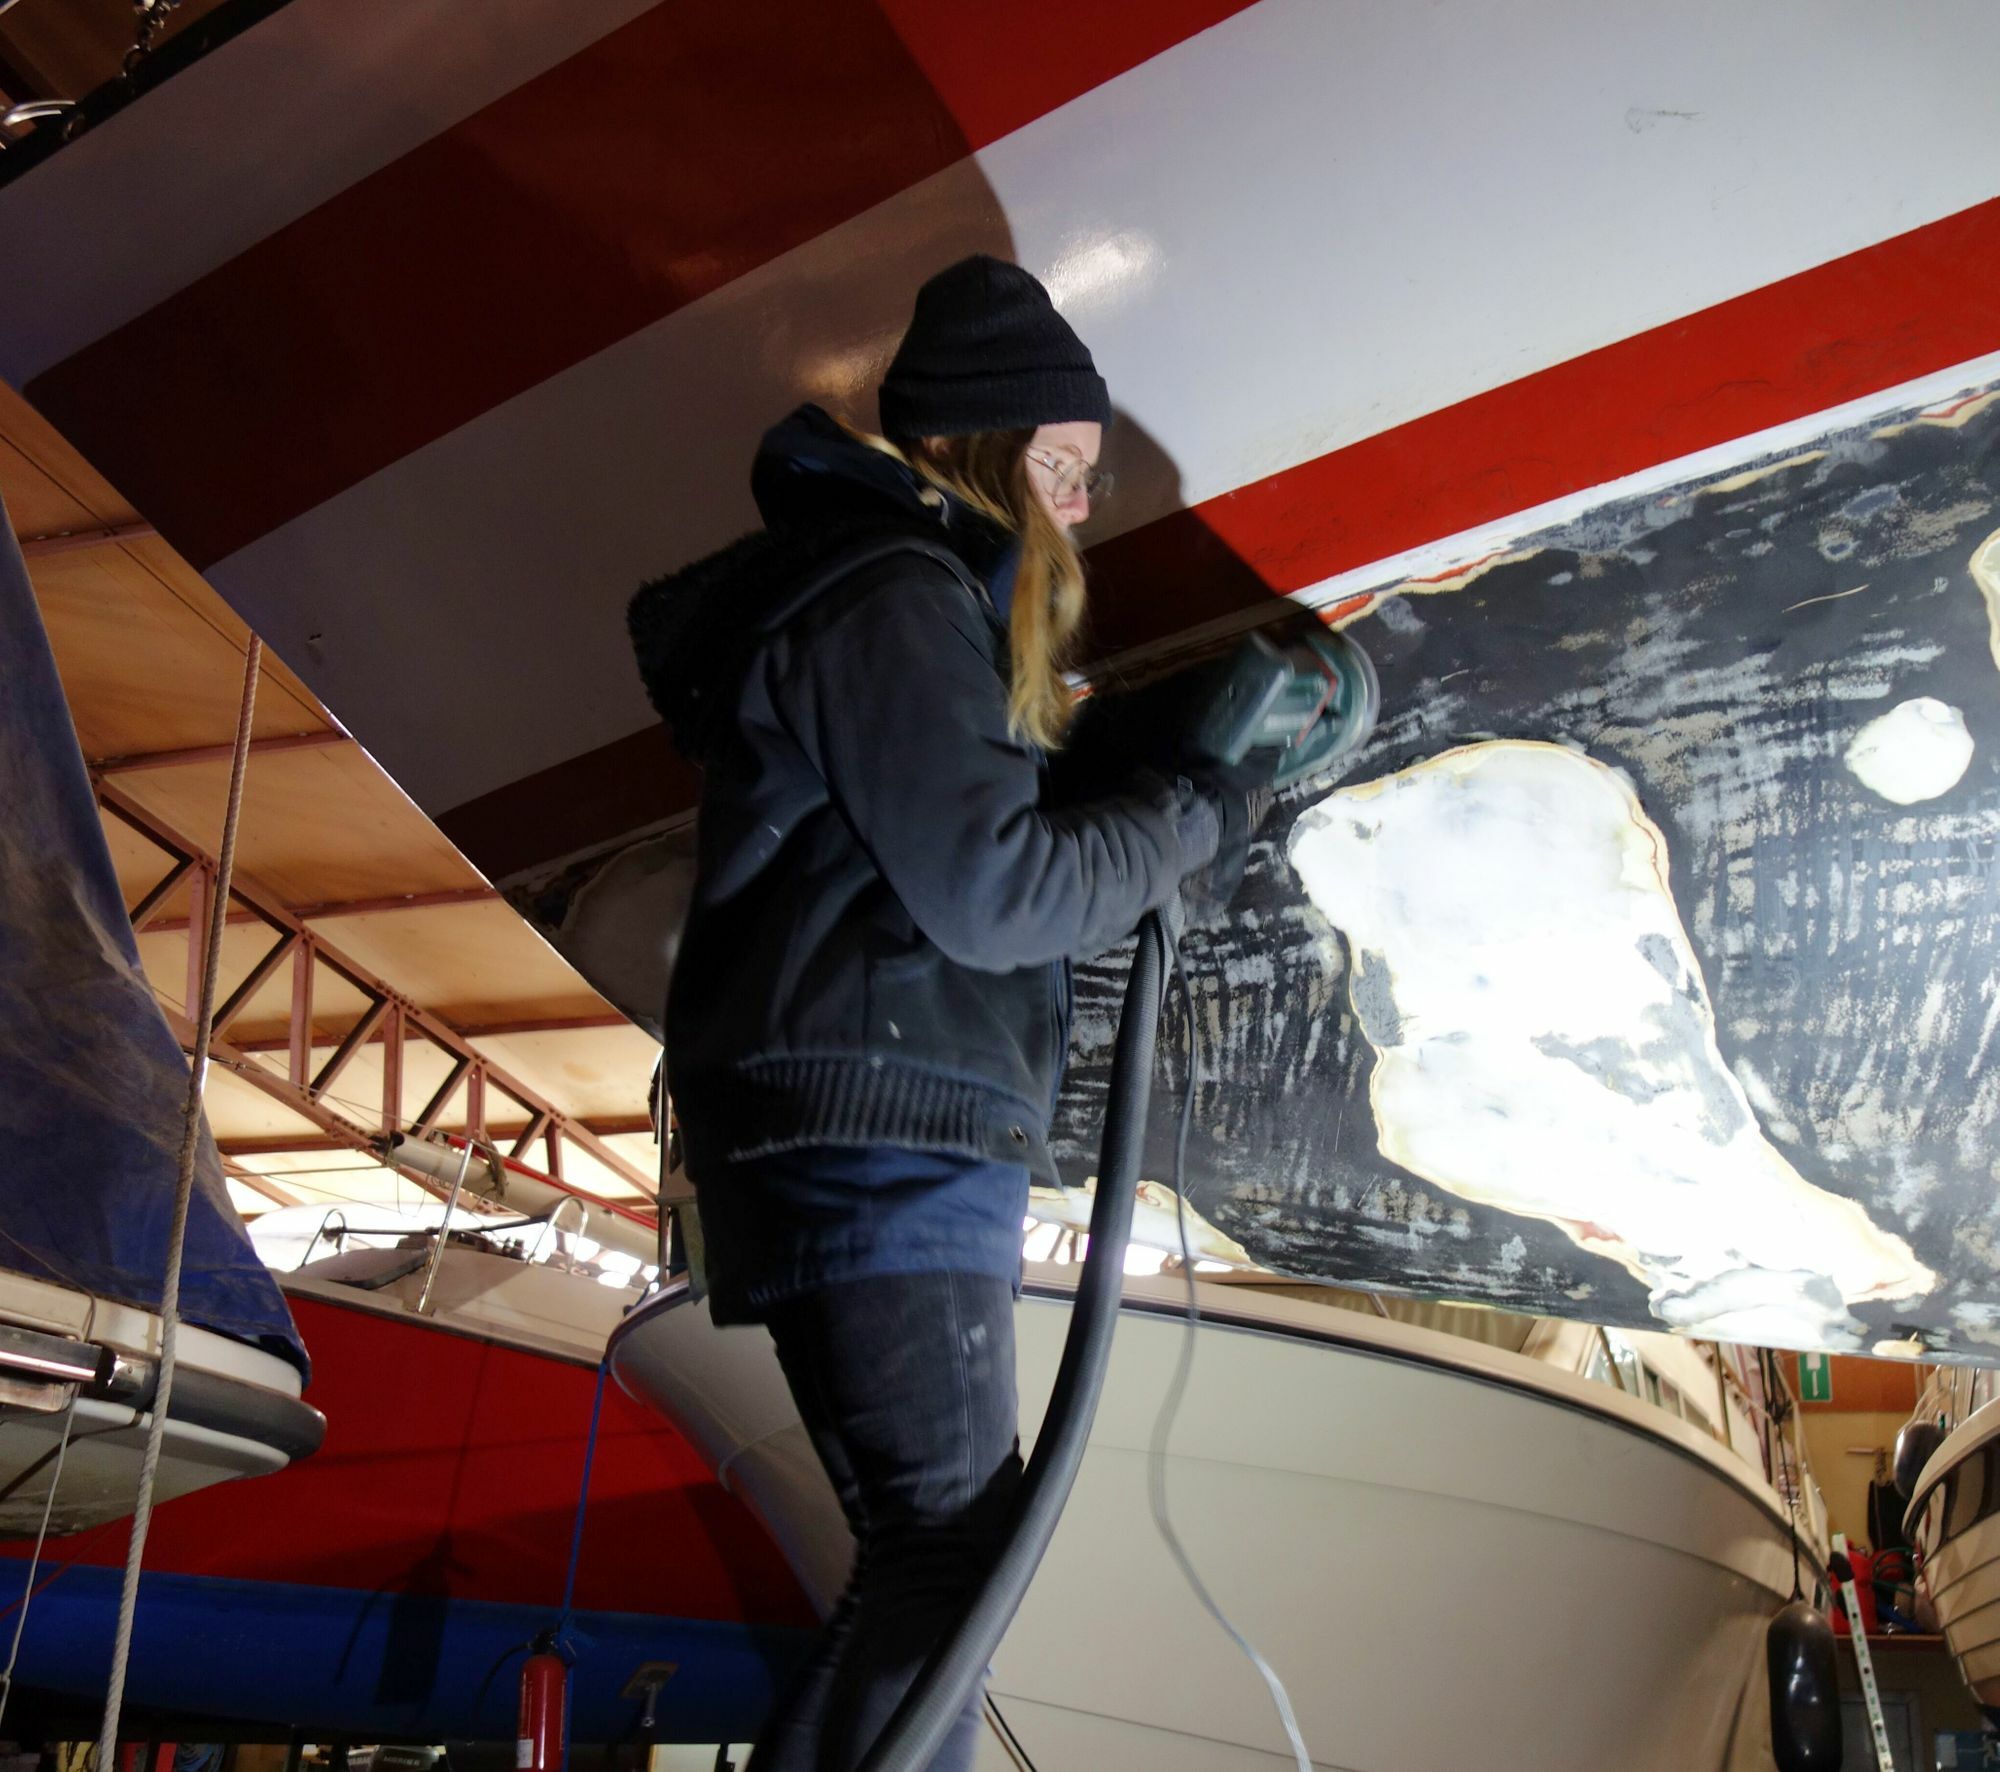
In many places the epoxy had degraded and had to be chipped away. After that we replaced it with layer after layer of fresh epoxy.
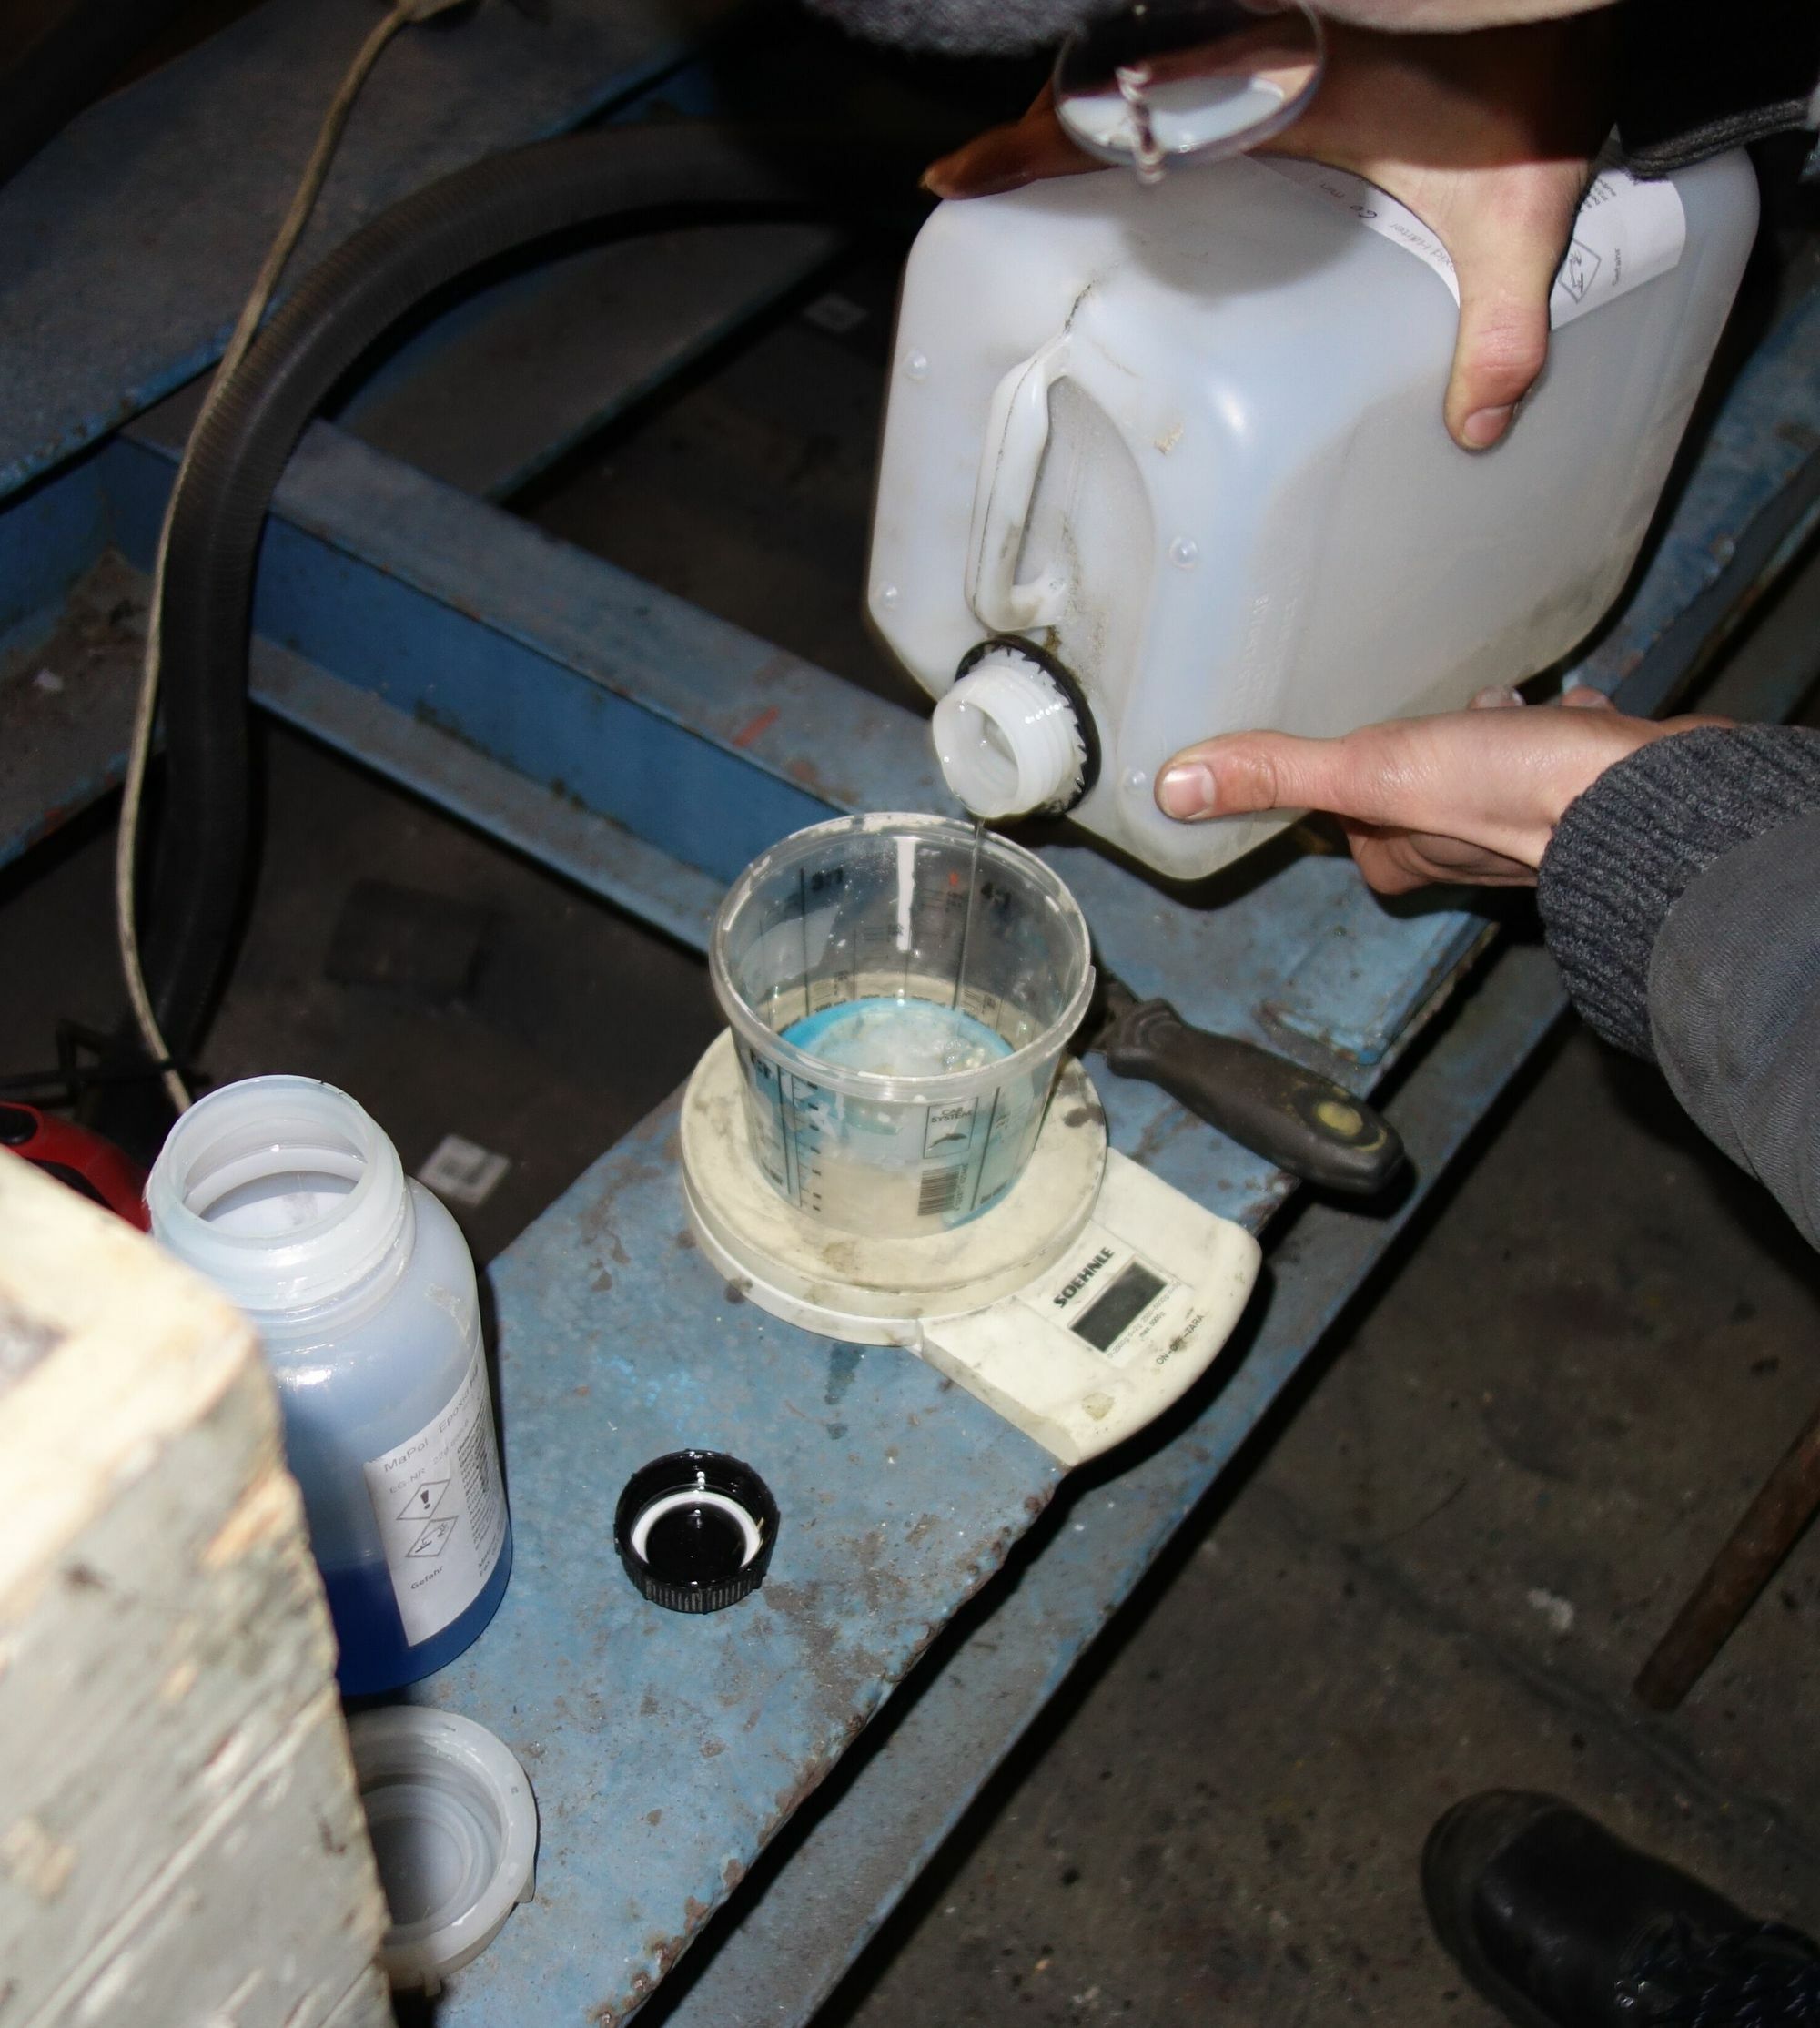
After a final sanding and cleaning its time for the barrier coat, for which we used 4-5 layers of thick epoxy paint to cover all the places where there is bare metal or epoxy. Unfortunately this paint doesn't work very well in low temperatures and needs at least 10°C while painting. Even then it needs at leas 36 hours of drying time before another layer can be applied. So there was lots of waiting for warmer weather and paint drying!
With the hull sealed off, it's time for large scale painting. First, another layer of primer to create a good base for the anti-fouling paint. With some big rollers we can quickly cover the whole boat. So, finally, we have a nice homogeneous cover. That's followed by two to three layers of self-polishing copper free (copper doesn't play nice with aluminium) Anti-fouling.

